Conversation sending section
Once you’ve created an outbound conversation, you can send it to your customers by accessing the conversation sending section. To do this, you have two options:- Create and send conversation: When creating a conversation, you can select the Create Conversation button and then Send the conversation now (Outbound). This will take you to the conversation sending section.
- Send conversation from the view of all your conversations: In the view of all your conversations, you can click the Send button to send the conversation, this will take you to the conversation sending section.
Ways to send outbound conversations
There are four ways to send outbound conversations to your customers:- Add users manually: This is the simplest way to send a conversation to one or several phone numbers. This is ideal when you want to test the conversation or want to send it to a small group of customers.
- Send conversation by uploading CSV file: You can upload a CSV file with the phone numbers you want to send the conversation to. This is ideal when you want to send the conversation to a large group of customers.
- Send via API: You can send the conversation through our API. This is ideal when you want to automate sending the conversation to your customers.
- Send conversation through an integration: You can send the conversation through an integration. If you’re a HubSpot or Salesforce user and have an integration with Treble, you can send the conversation to your customers from your CRM.
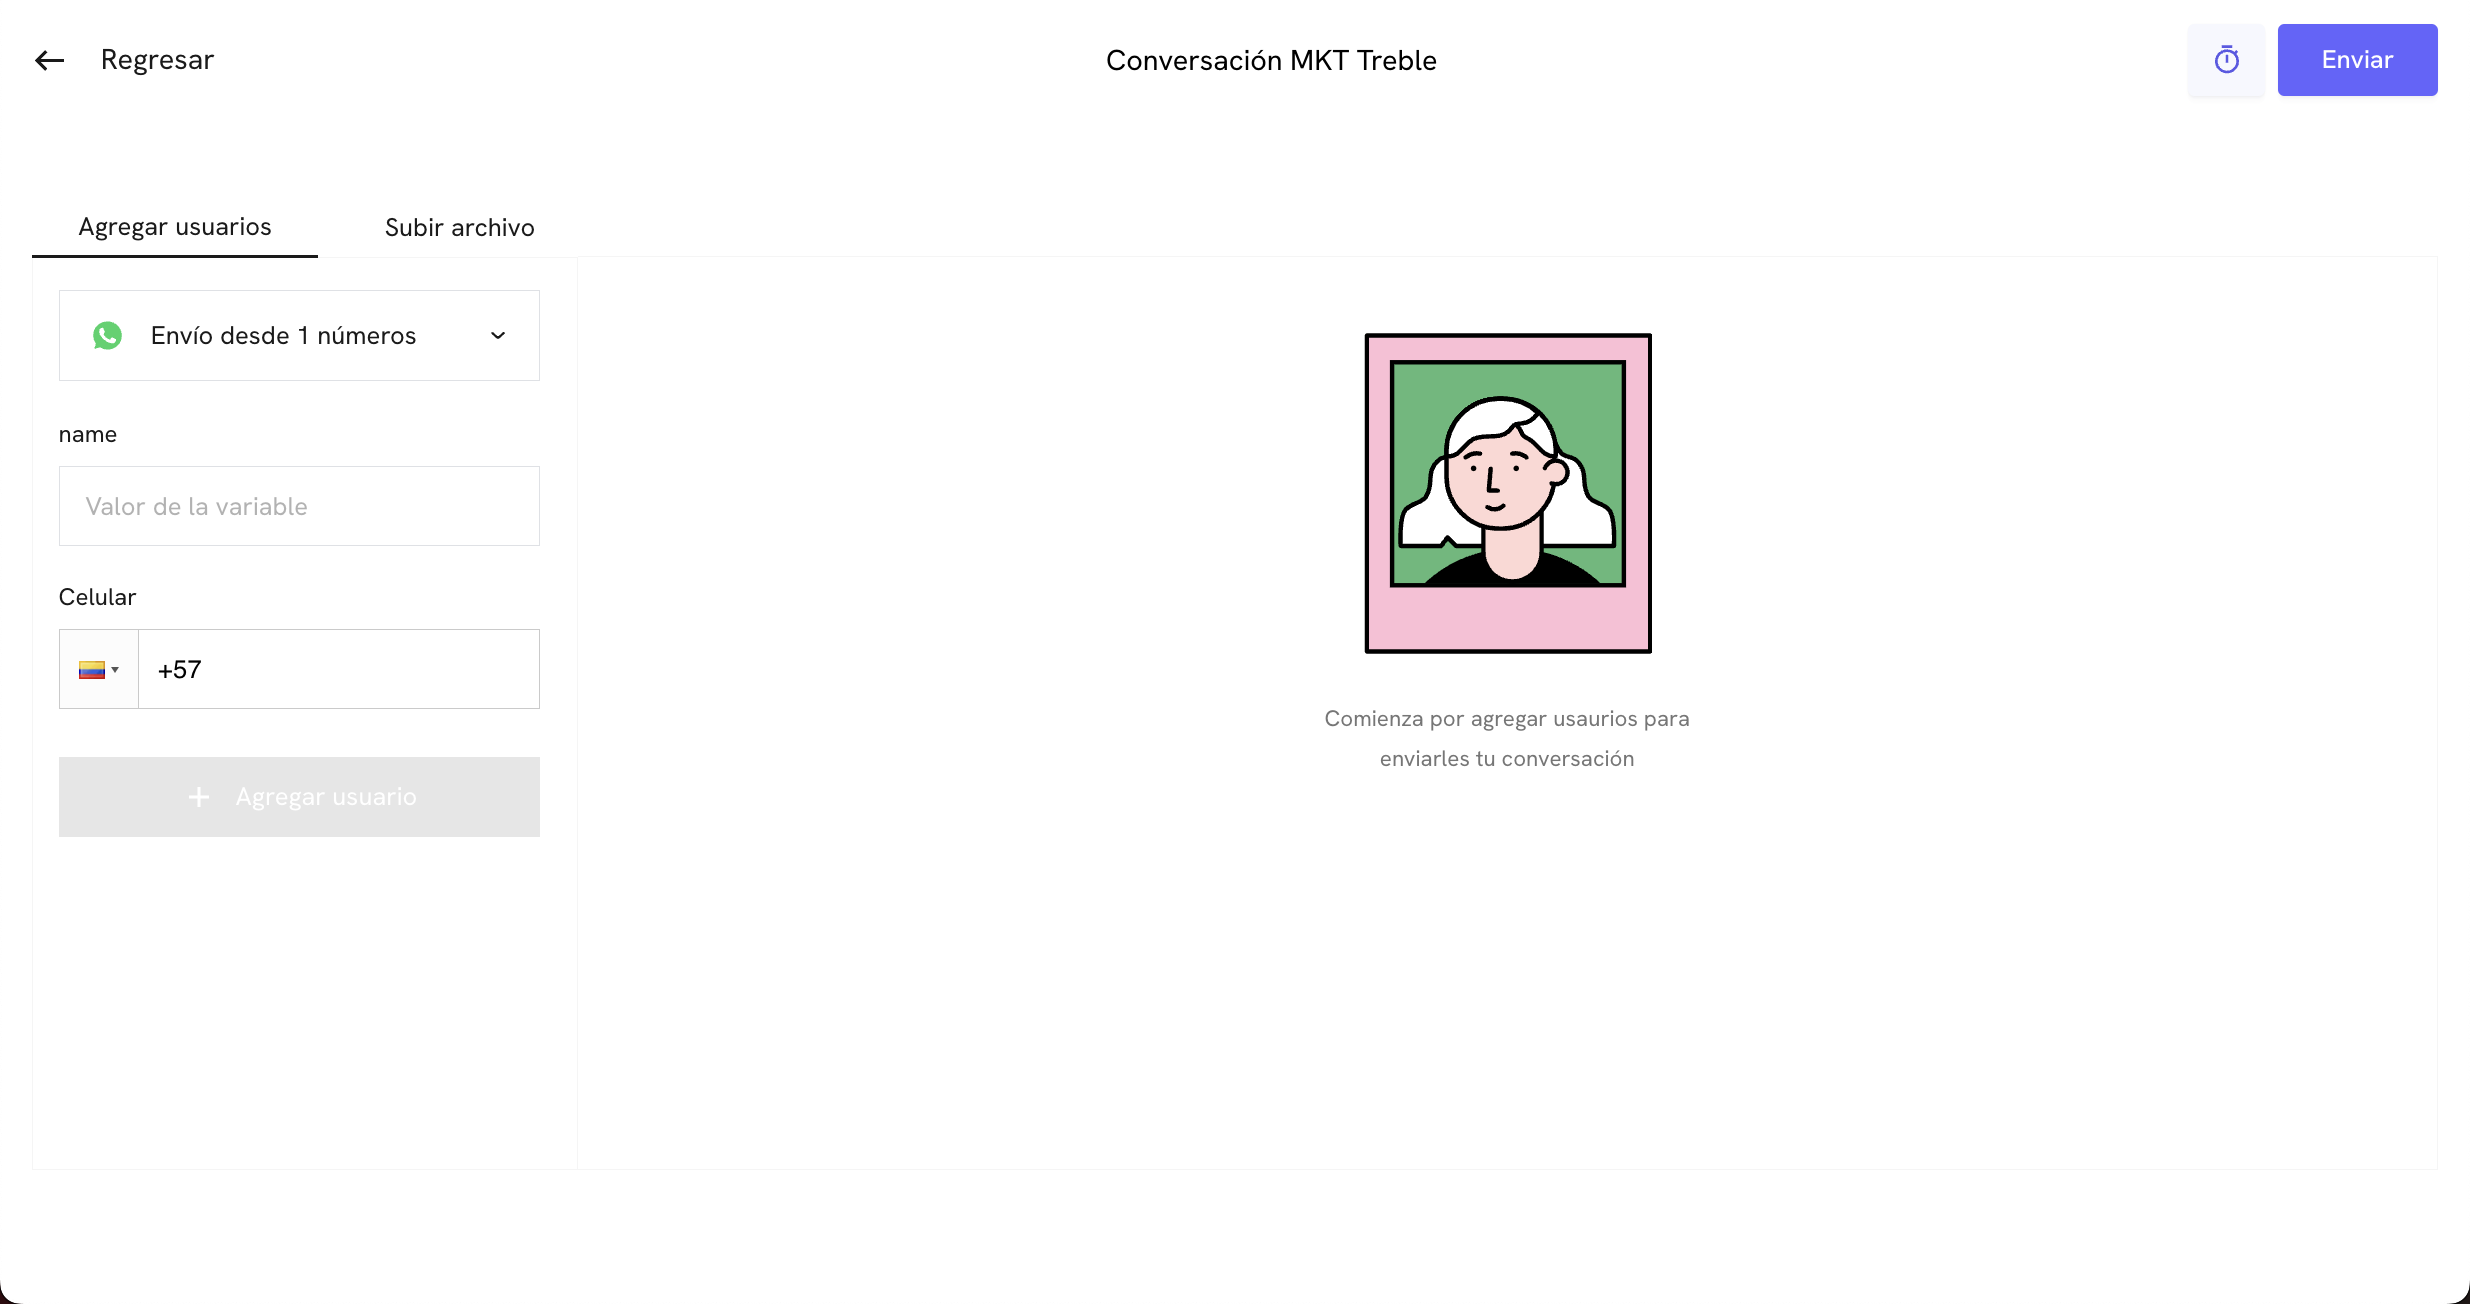
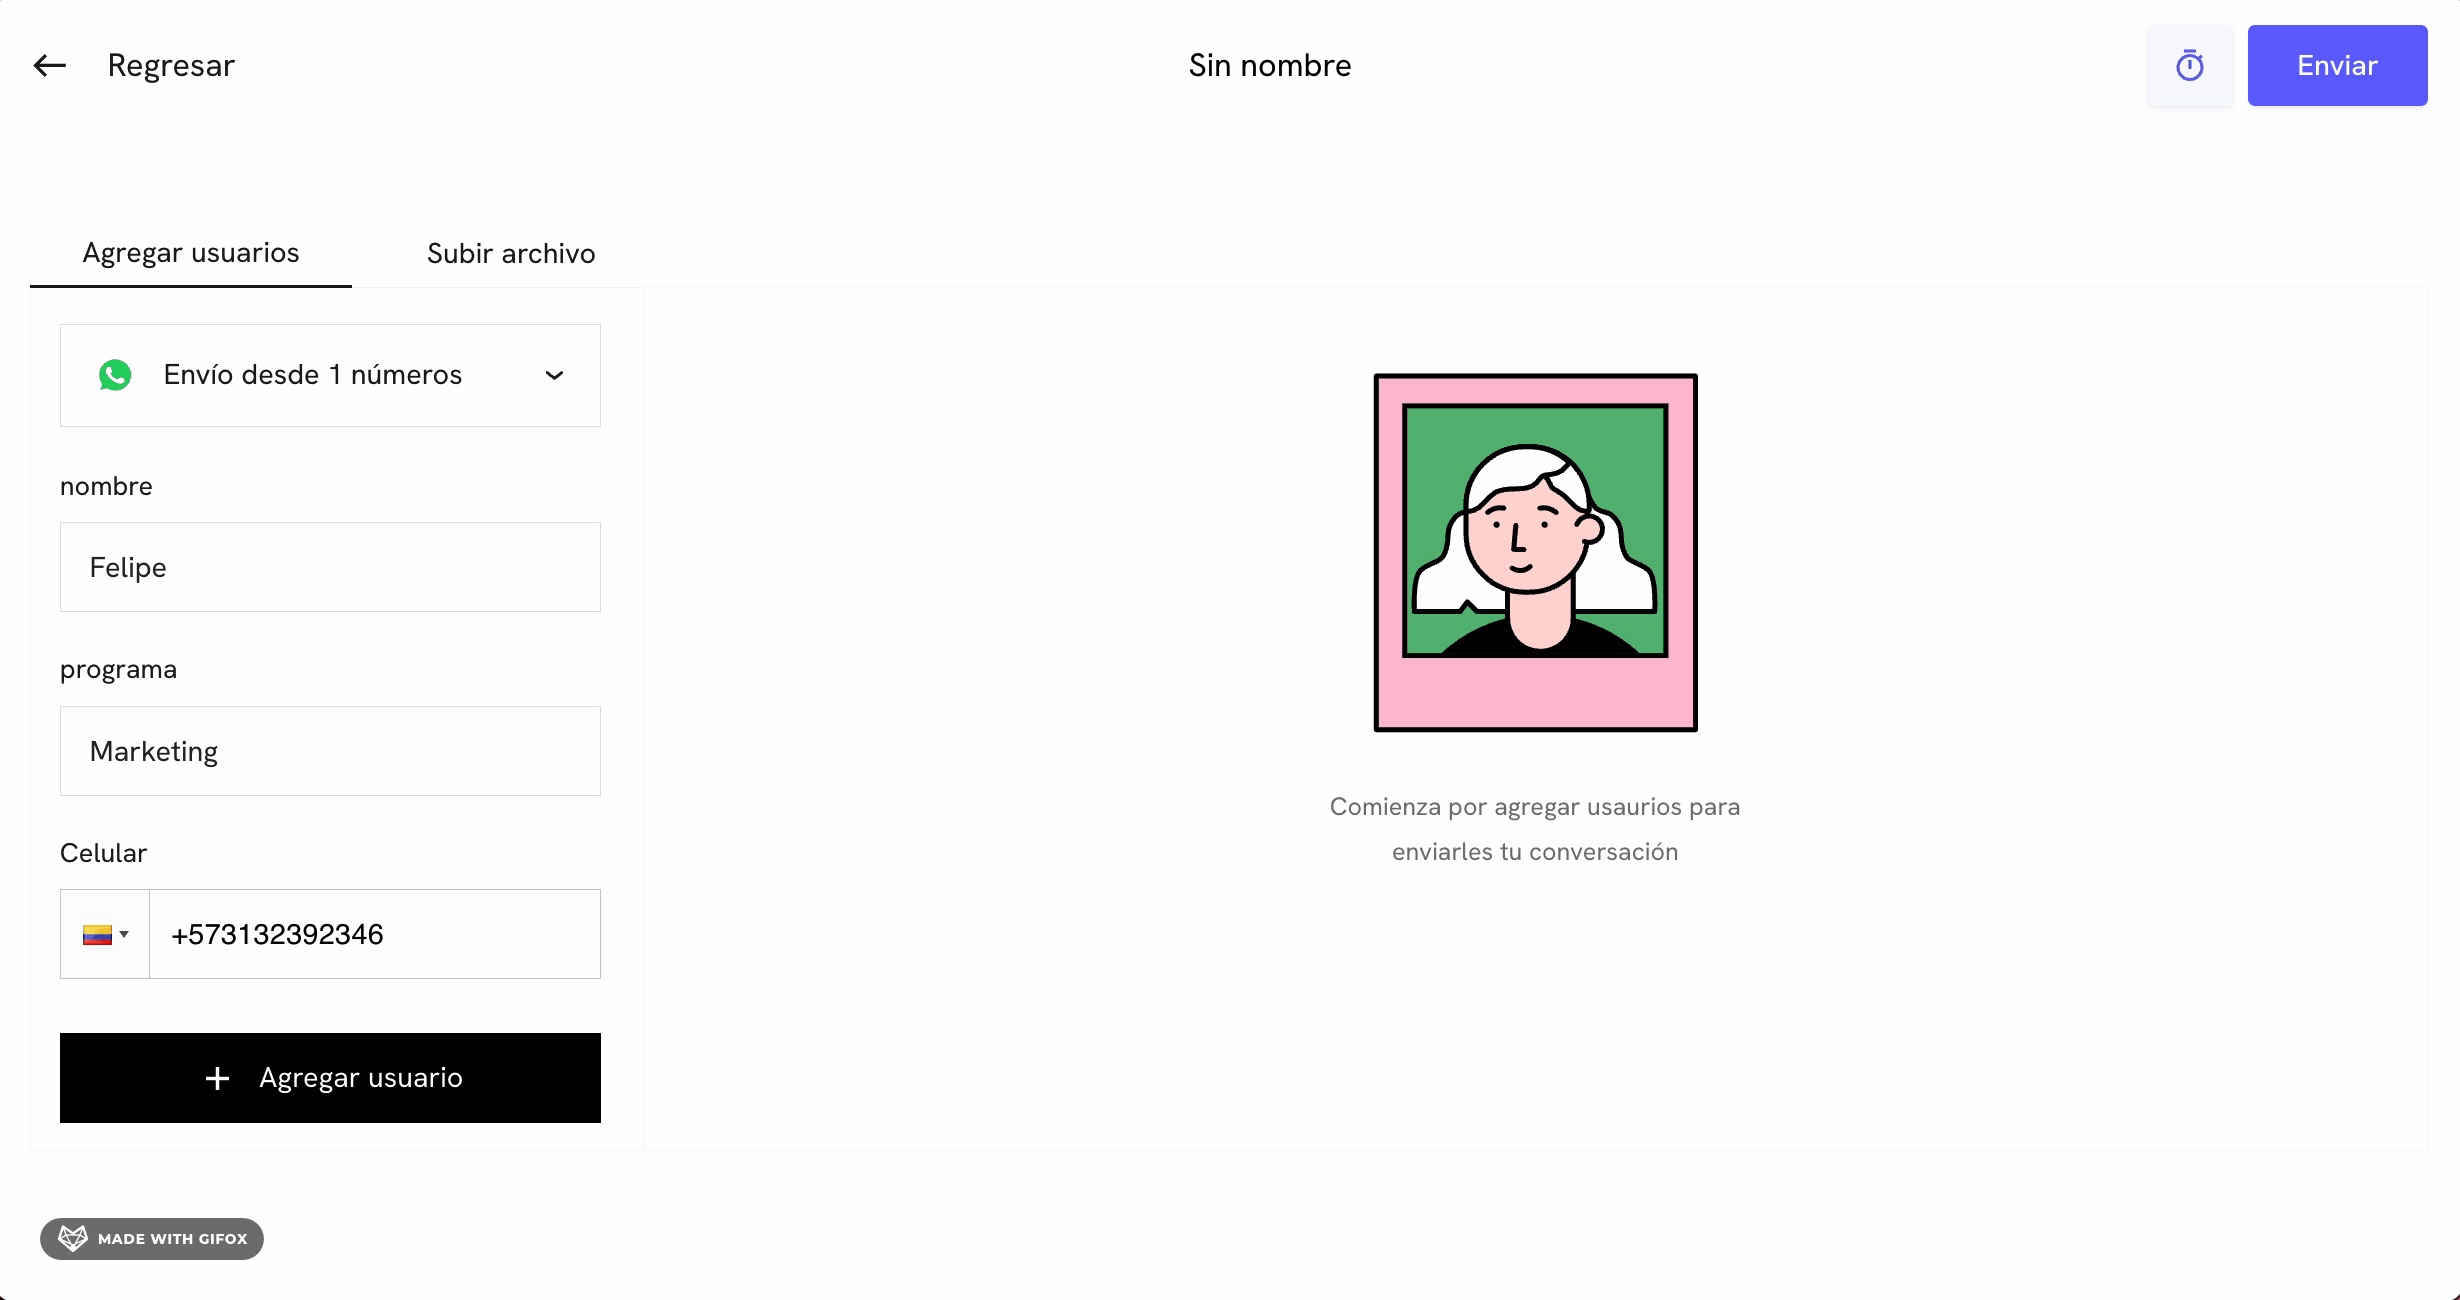
Send conversation by adding users manually
In the conversation sending view, add the phone numbers you want to send the conversation to. If your conversation has variables (dynamic information to personalize the message), you can add the values of the variables in their respective fields.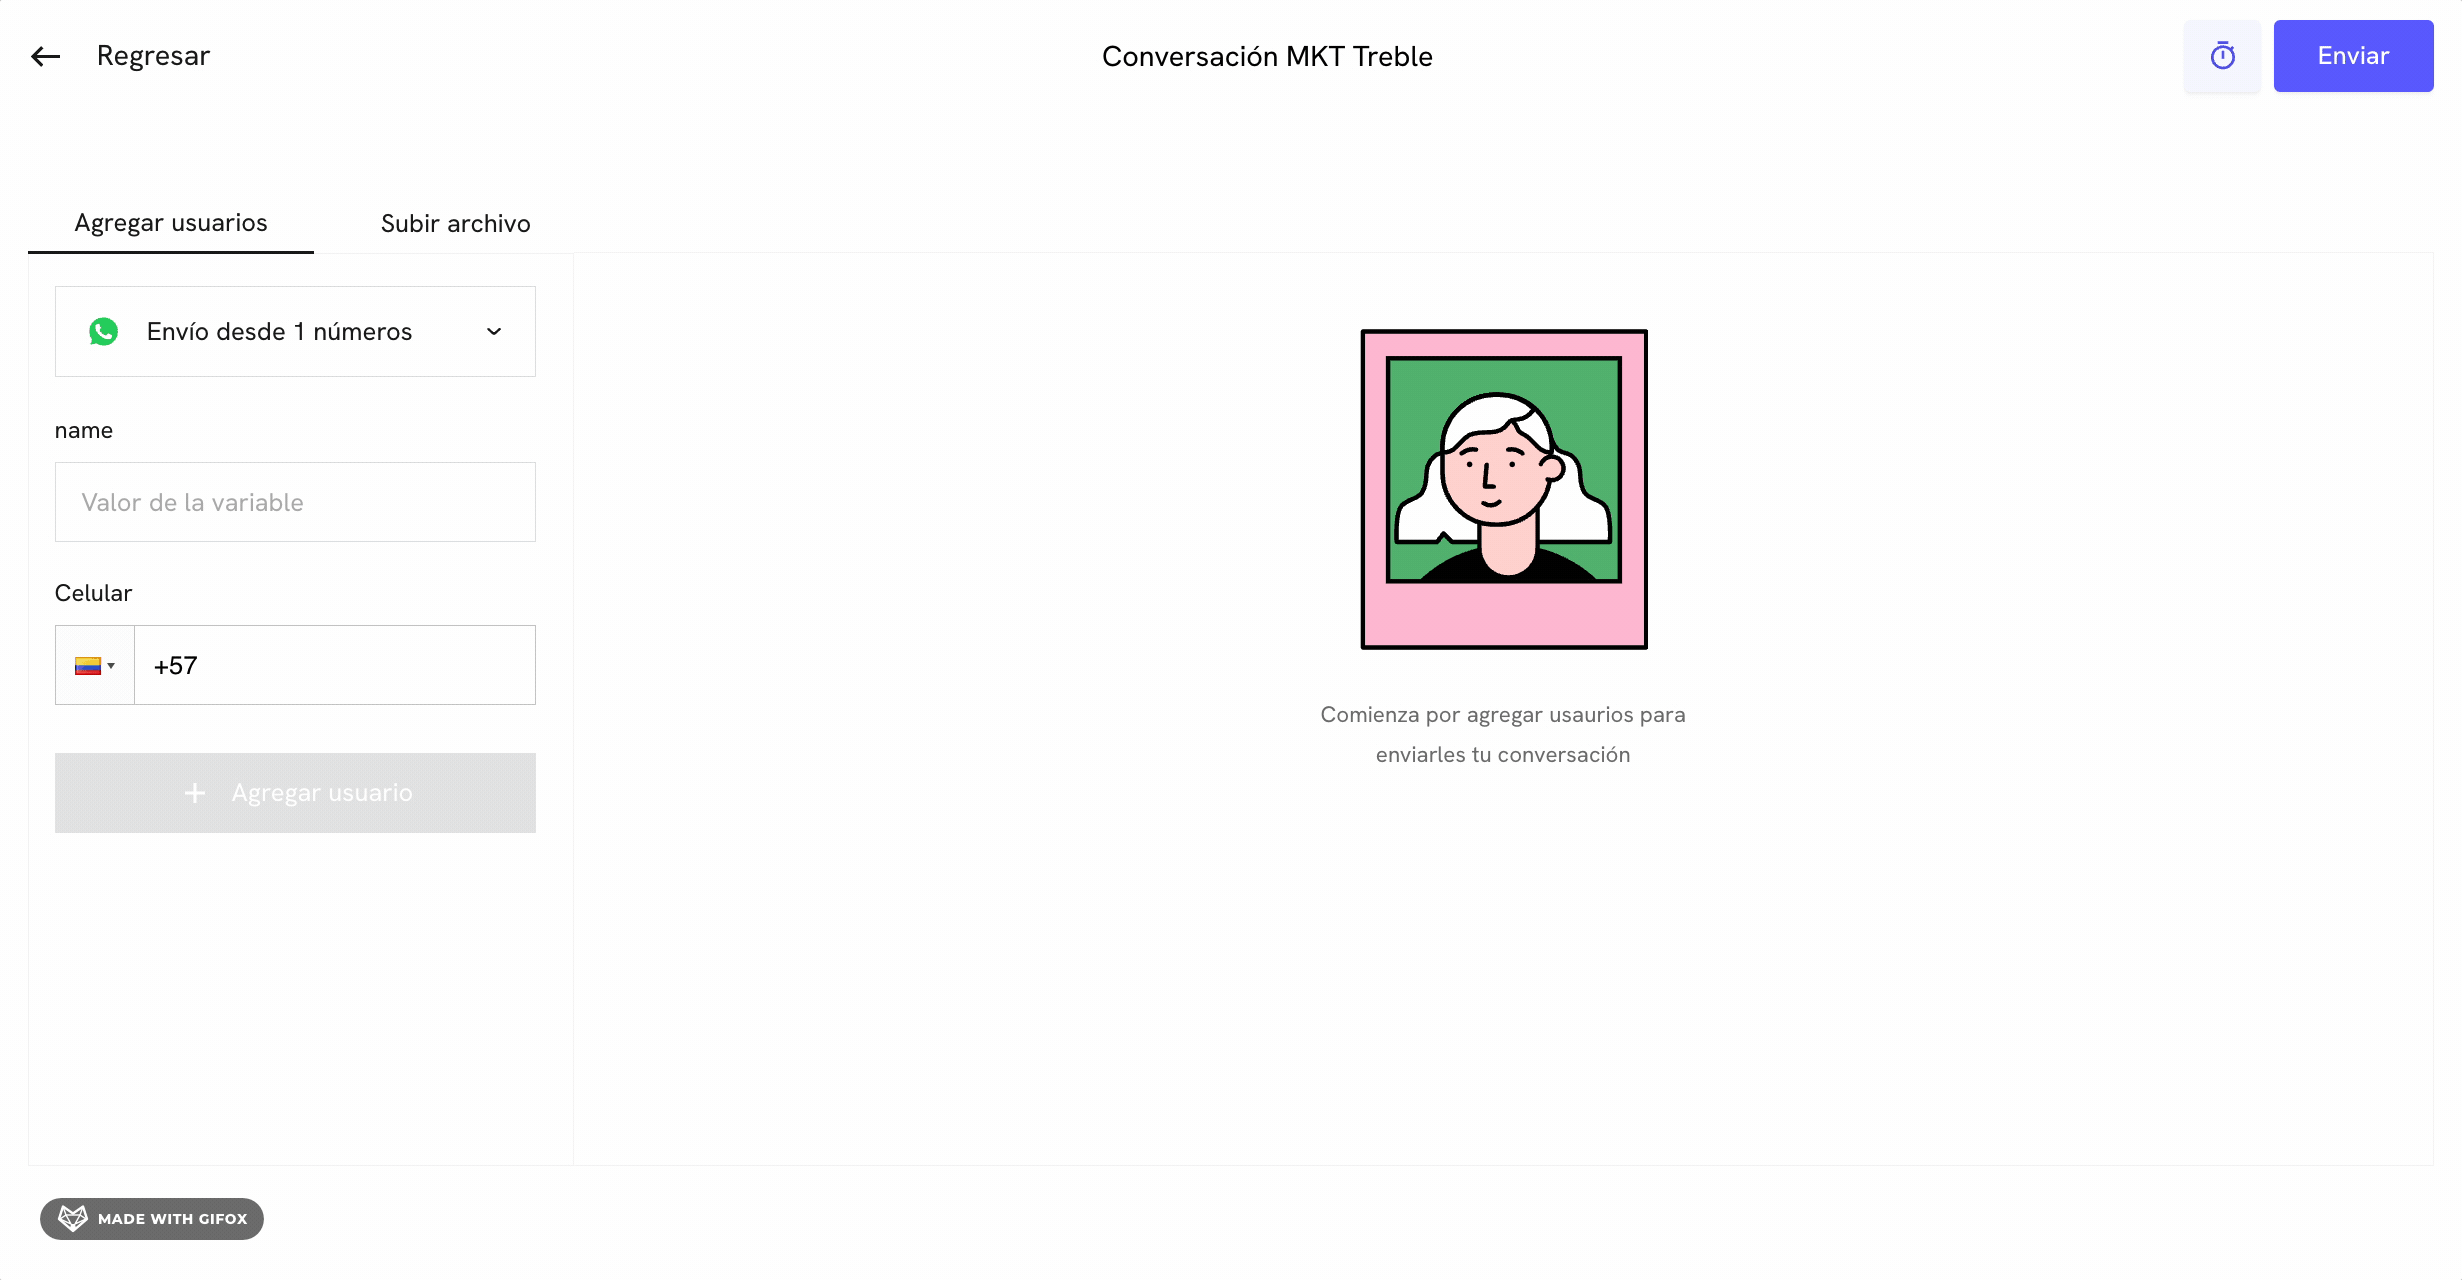
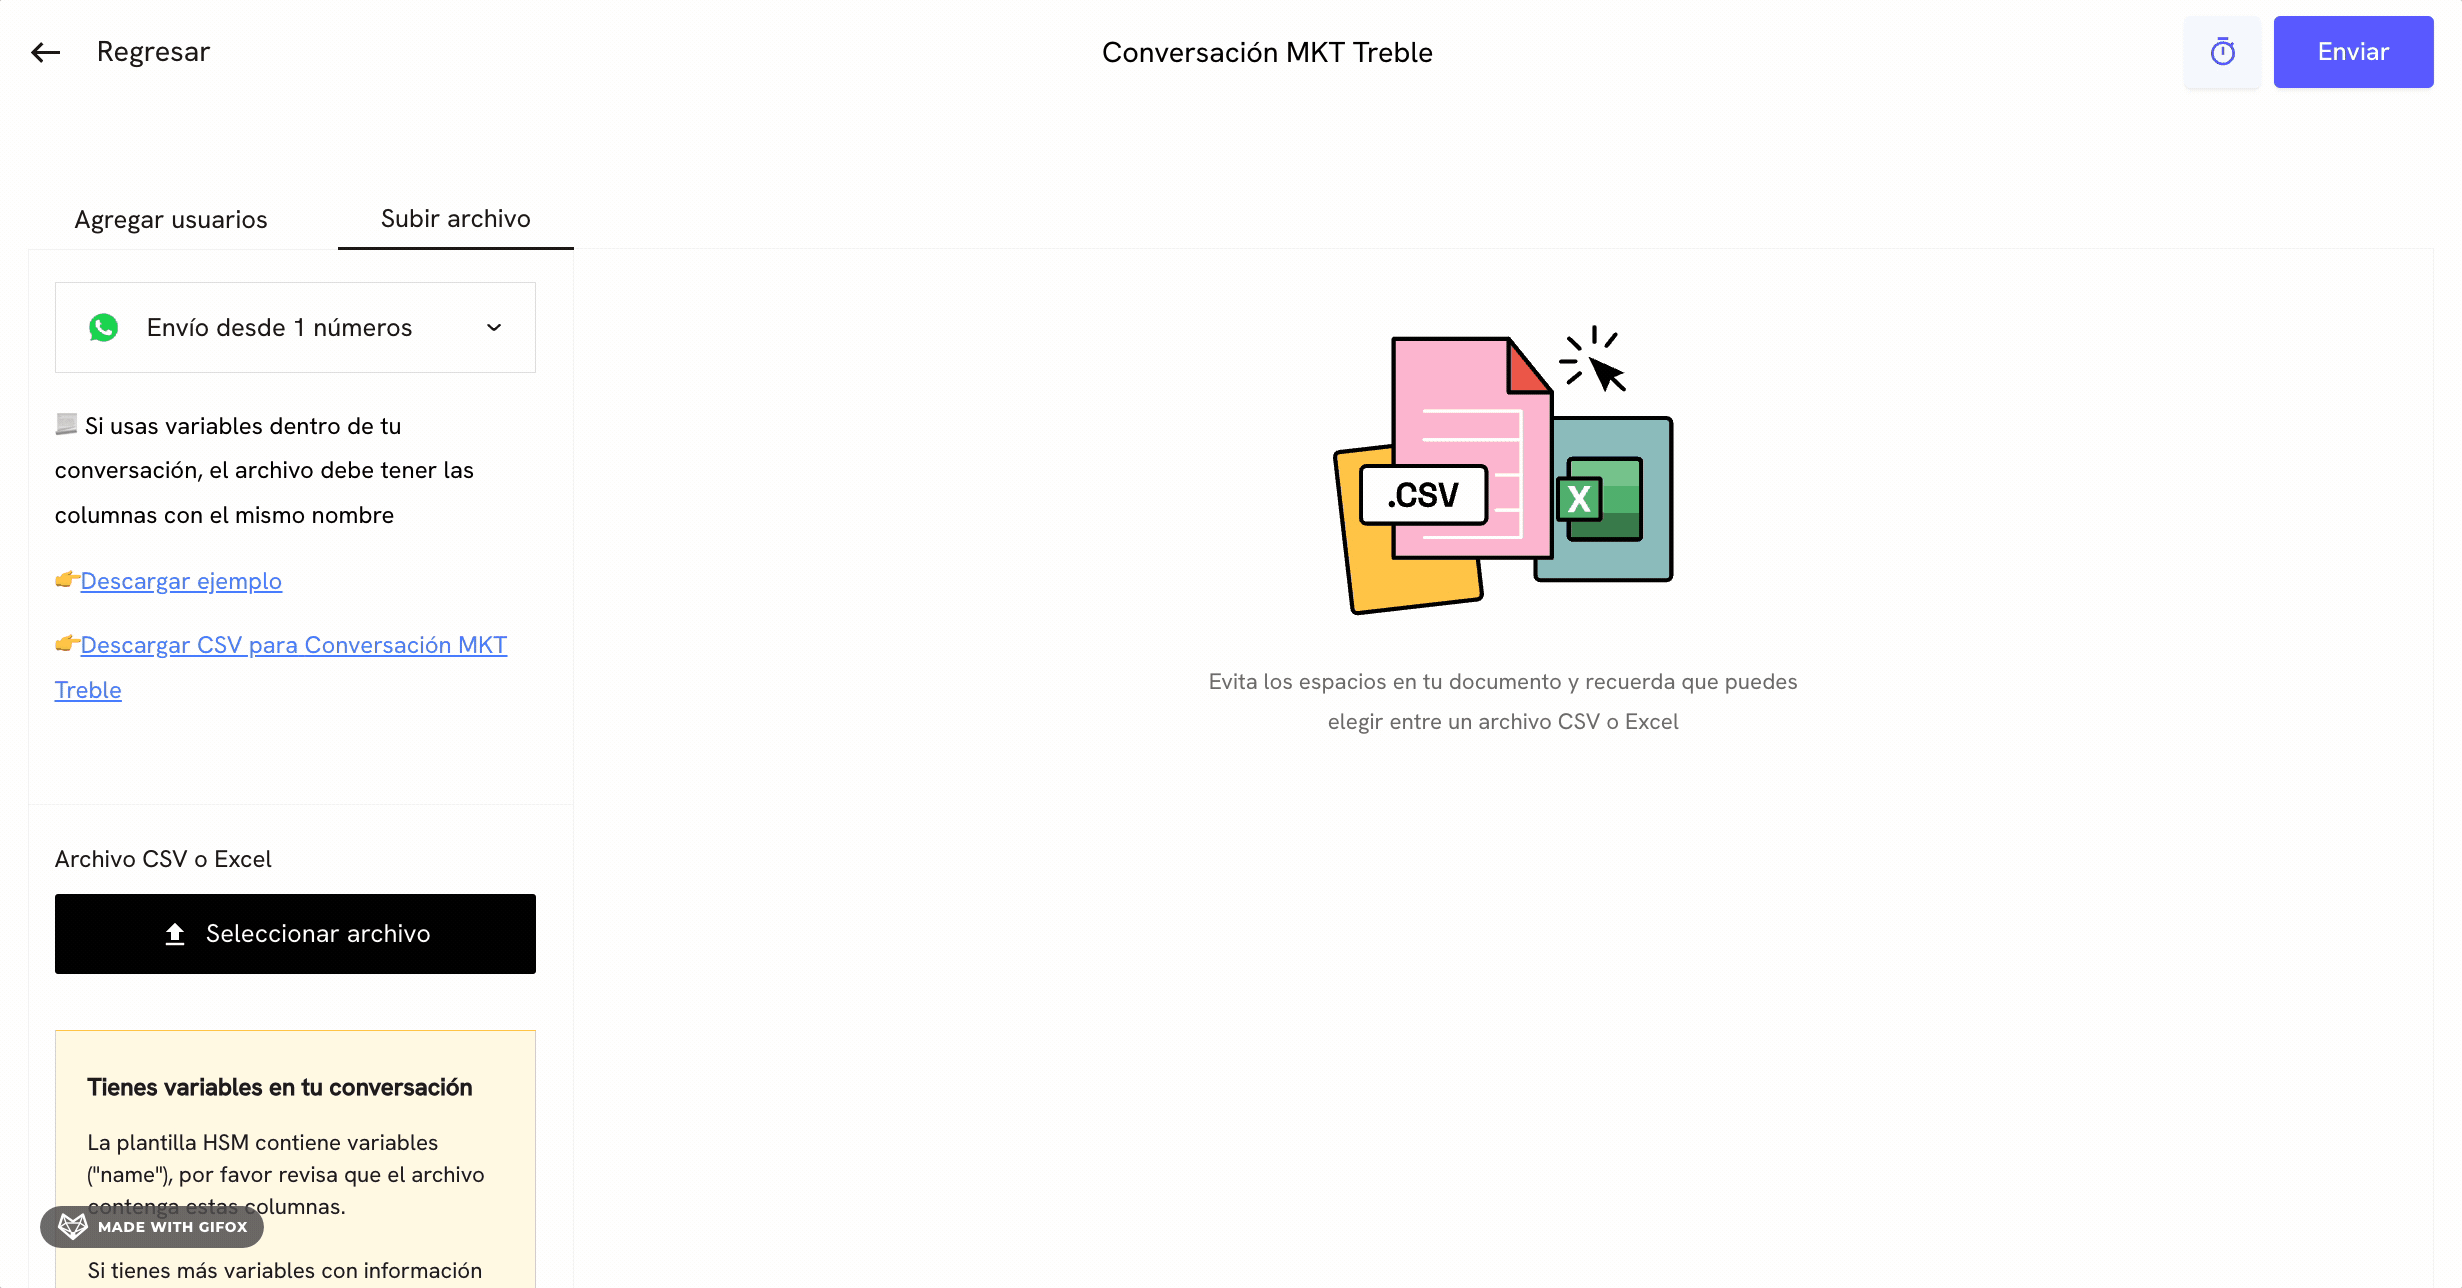
Send conversation by uploading CSV file
To upload a CSV file with the phone numbers you want to send the conversation to, click on the Upload file tab. Once you’ve clicked, you’ll find two useful links in the left panel:- Download example: This link will allow you to download an example CSV file with the phone numbers you want to send the conversation to.
- Download CSV [your conversation name]: This link will allow you to download a CSV file template with the variable structure of your conversation.
CSV file format
The structure of the columns in your CSV file is very important to ensure the conversation is sent correctly. The column structure is as follows:
In this example, the
country_code and cellphone columns are mandatory. The name column is an example of a variable you can use in your conversation.
We always recommend that you download the template that already has the variable structure of your conversation. This will prevent errors when uploading the CSV file.
Once you have your CSV file ready, you can click the Select file button to upload your CSV file.
Send Conversation
Once you’ve added the users who will receive the conversation, you can choose one of the following sending methods to send the conversation:- Send now: This option will allow you to send the conversation immediately.
- Send at best response time by contact and country: This option will allow you to send the conversation at the best response time by contact and country.
Perfect! The conversation has been sent successfully.
Next steps
Deploy conversation via API
Want to automate sending your conversations through an API? Check our API documentation for more information.
Send conversation via integration
Want to send your conversations through an integration? Check our integration documentation for more information.