Tutorial: First Conversation Transferred to an Agent
In this tutorial, we’re going to create an inbound conversation where your users write to you and transfer it to an agent on your team in Treble. This tutorial is designed to help you understand how conversation transfers work in Treble and assumes this is one of your first times using Treble.Use Case Examples
- Pet product vendor: A pet product vendor receives messages from potential customers through WhatsApp. The vendor wants to respond to messages from potential customers and transfer the conversation to an agent on their team in Treble.
- Real estate company: Your potential customers write messages to your WhatsApp number asking about available properties. You have a flow that initially qualifies potential customers and then redirects them to an advisor on your team who can give them more information.
- Travel agency: Your travel advisors receive messages from potential customers through WhatsApp because your customers have your WhatsApp number from a QR code.
Example of creating an inbound conversation
Let’s create a conversation to receive messages from potential customers. Let’s assume you’re part of a company that sells jewelry products. You have a WhatsApp button on your website that potential customers can click to write to you. We want to receive those messages and respond to them. How would we do it?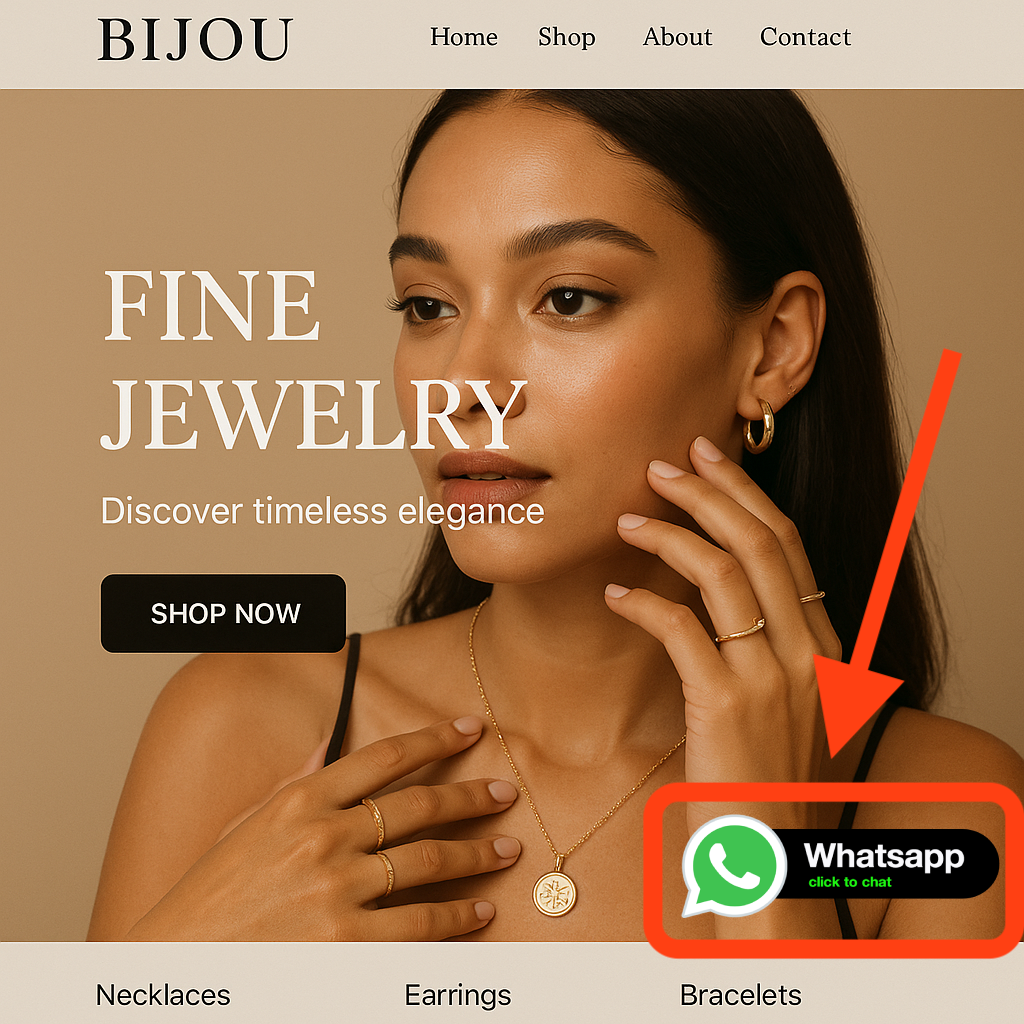
Configure the agent team
1
Configure Agent team
The first thing we’re going to do is configure our agent team. For this, we’ll go to the “Agents” section and create a new agent. To do this, log in with your Treble credentials to the agent platform. You can do this from the following link: 
sales.treble.ai
.Your account, as an administrator within sales.treble.ai, is an agent that you can use to respond to messages from potential customers. However, for this tutorial, we recommend creating a new agent and assigning it to a new team so you can better understand the flow of conversation transfers.
2
Create new agent
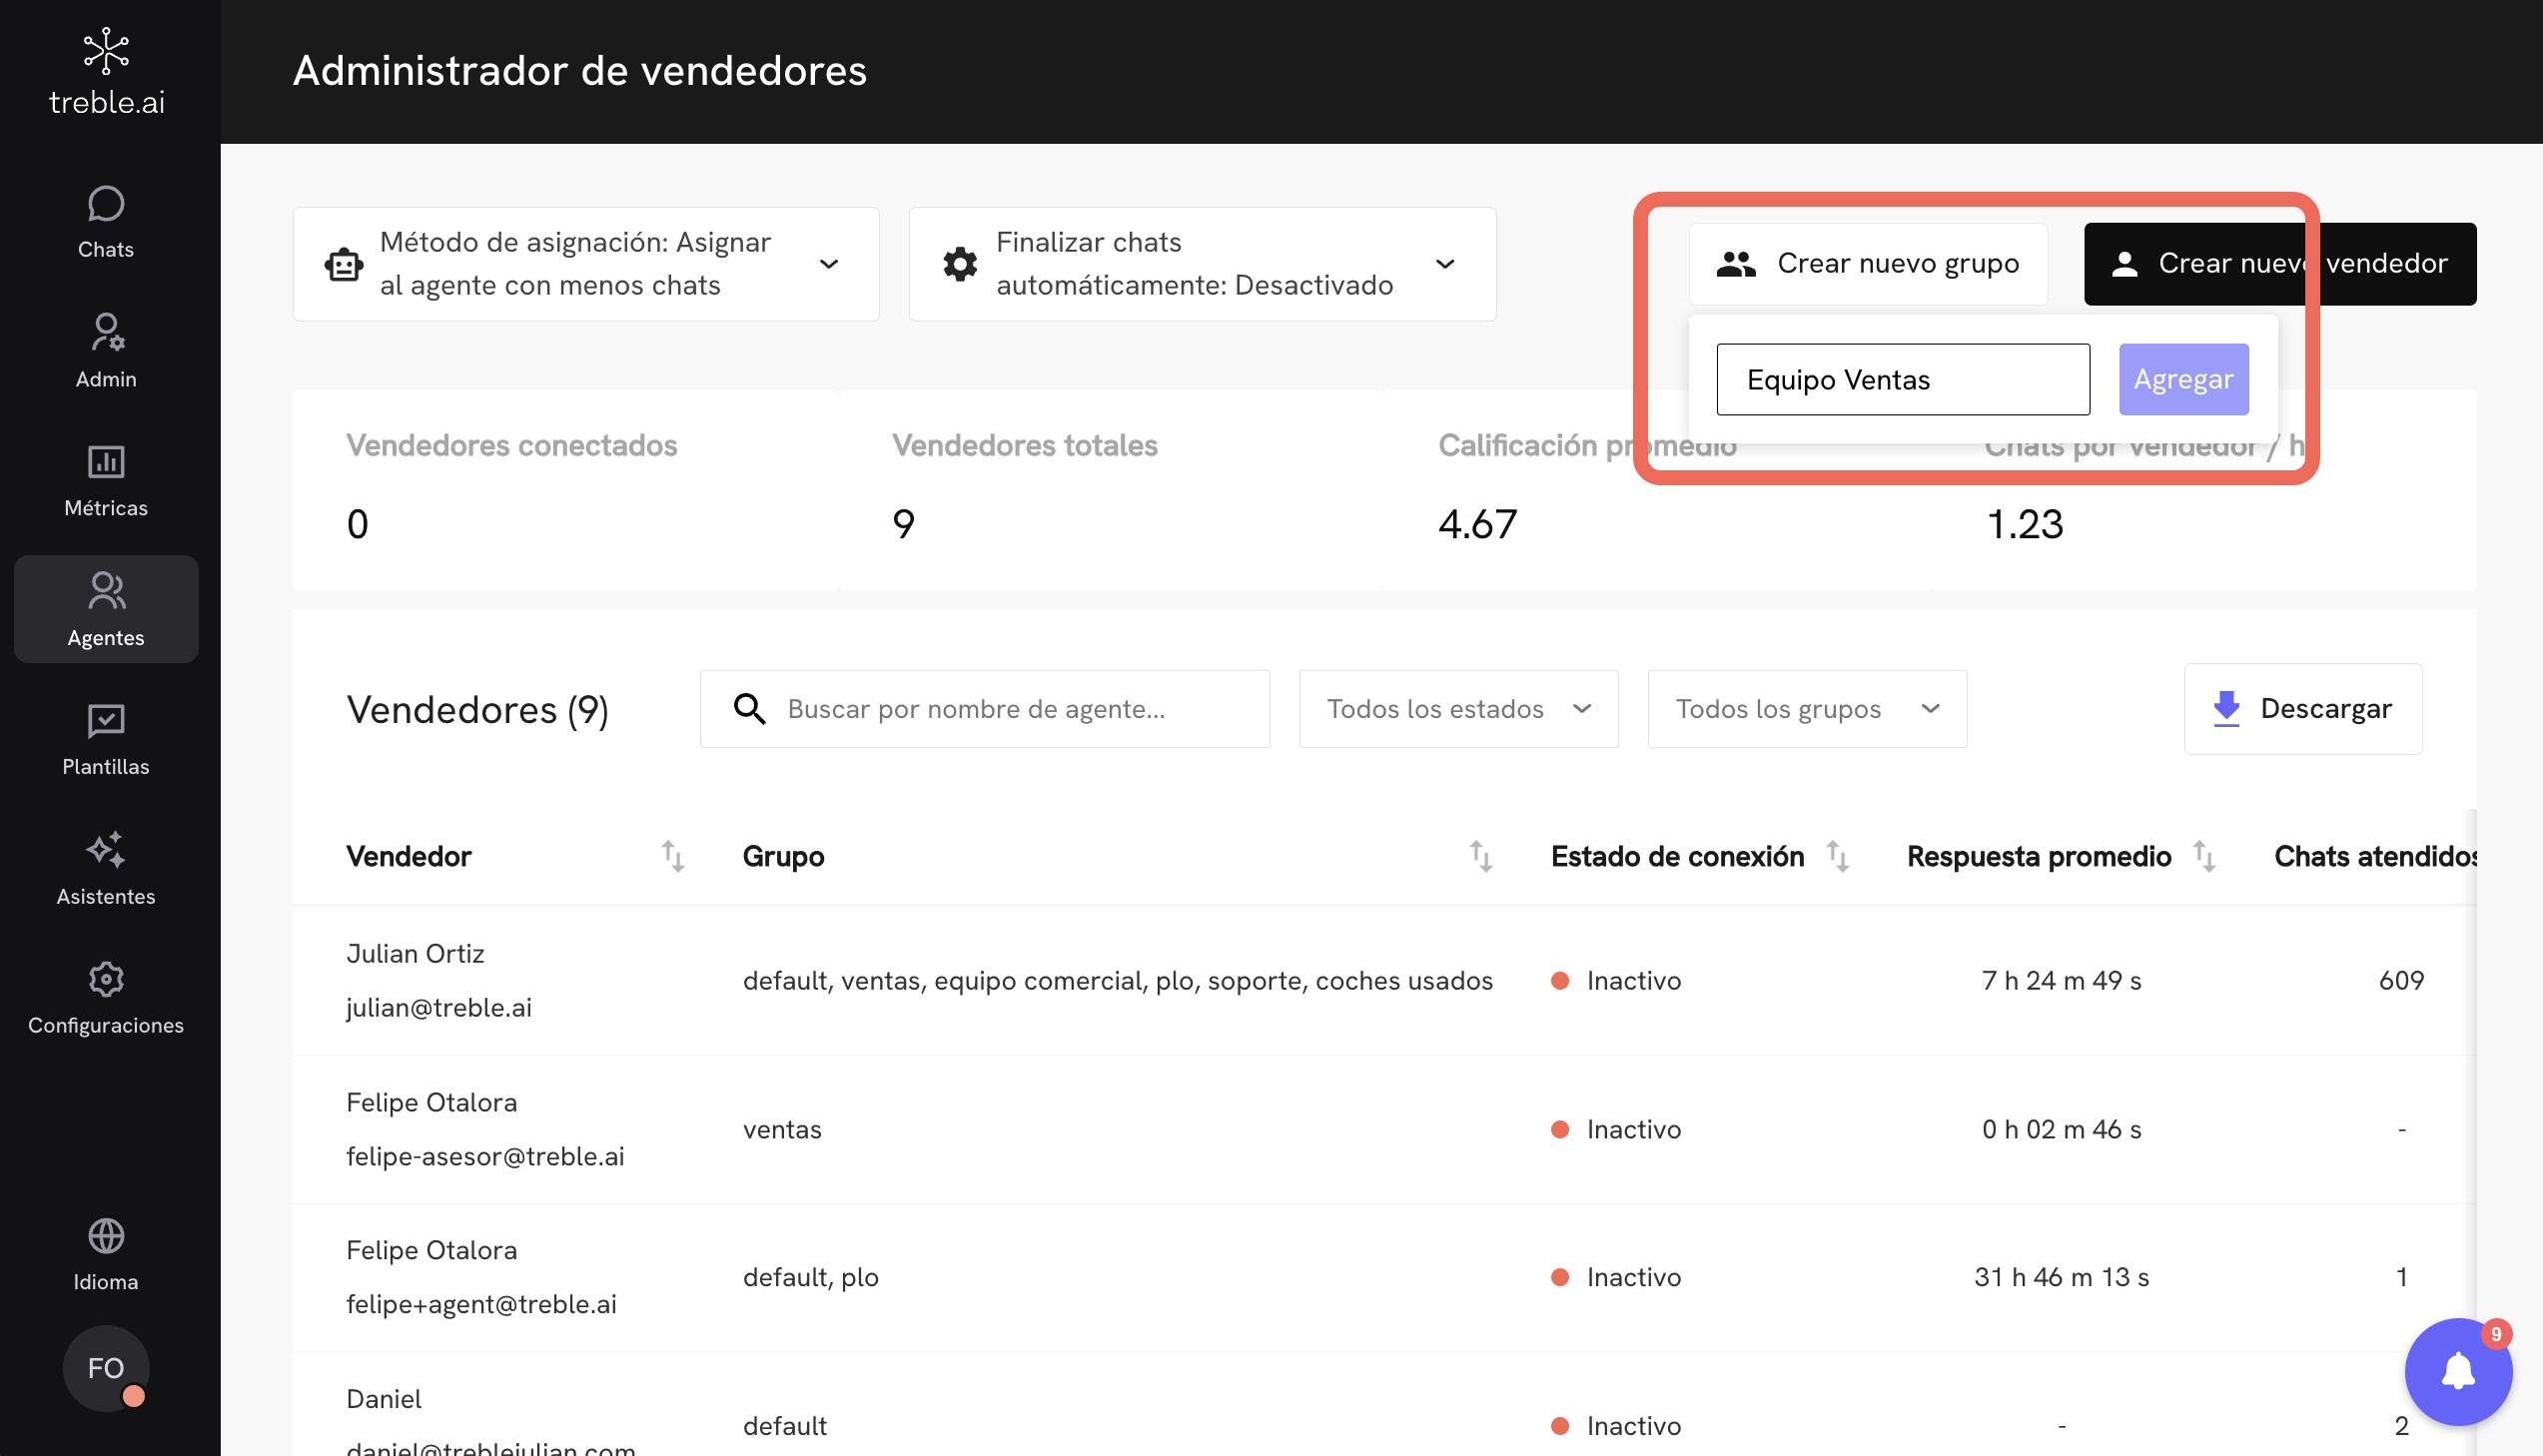
Now click on the “Create New Group” button. First, we’re going to create a group of agents so that later, when we create the new agent, you can add it to this group. When you click on the “Create New Group” button, a text field will open for you to name the group.Let’s name it “Sales Team”.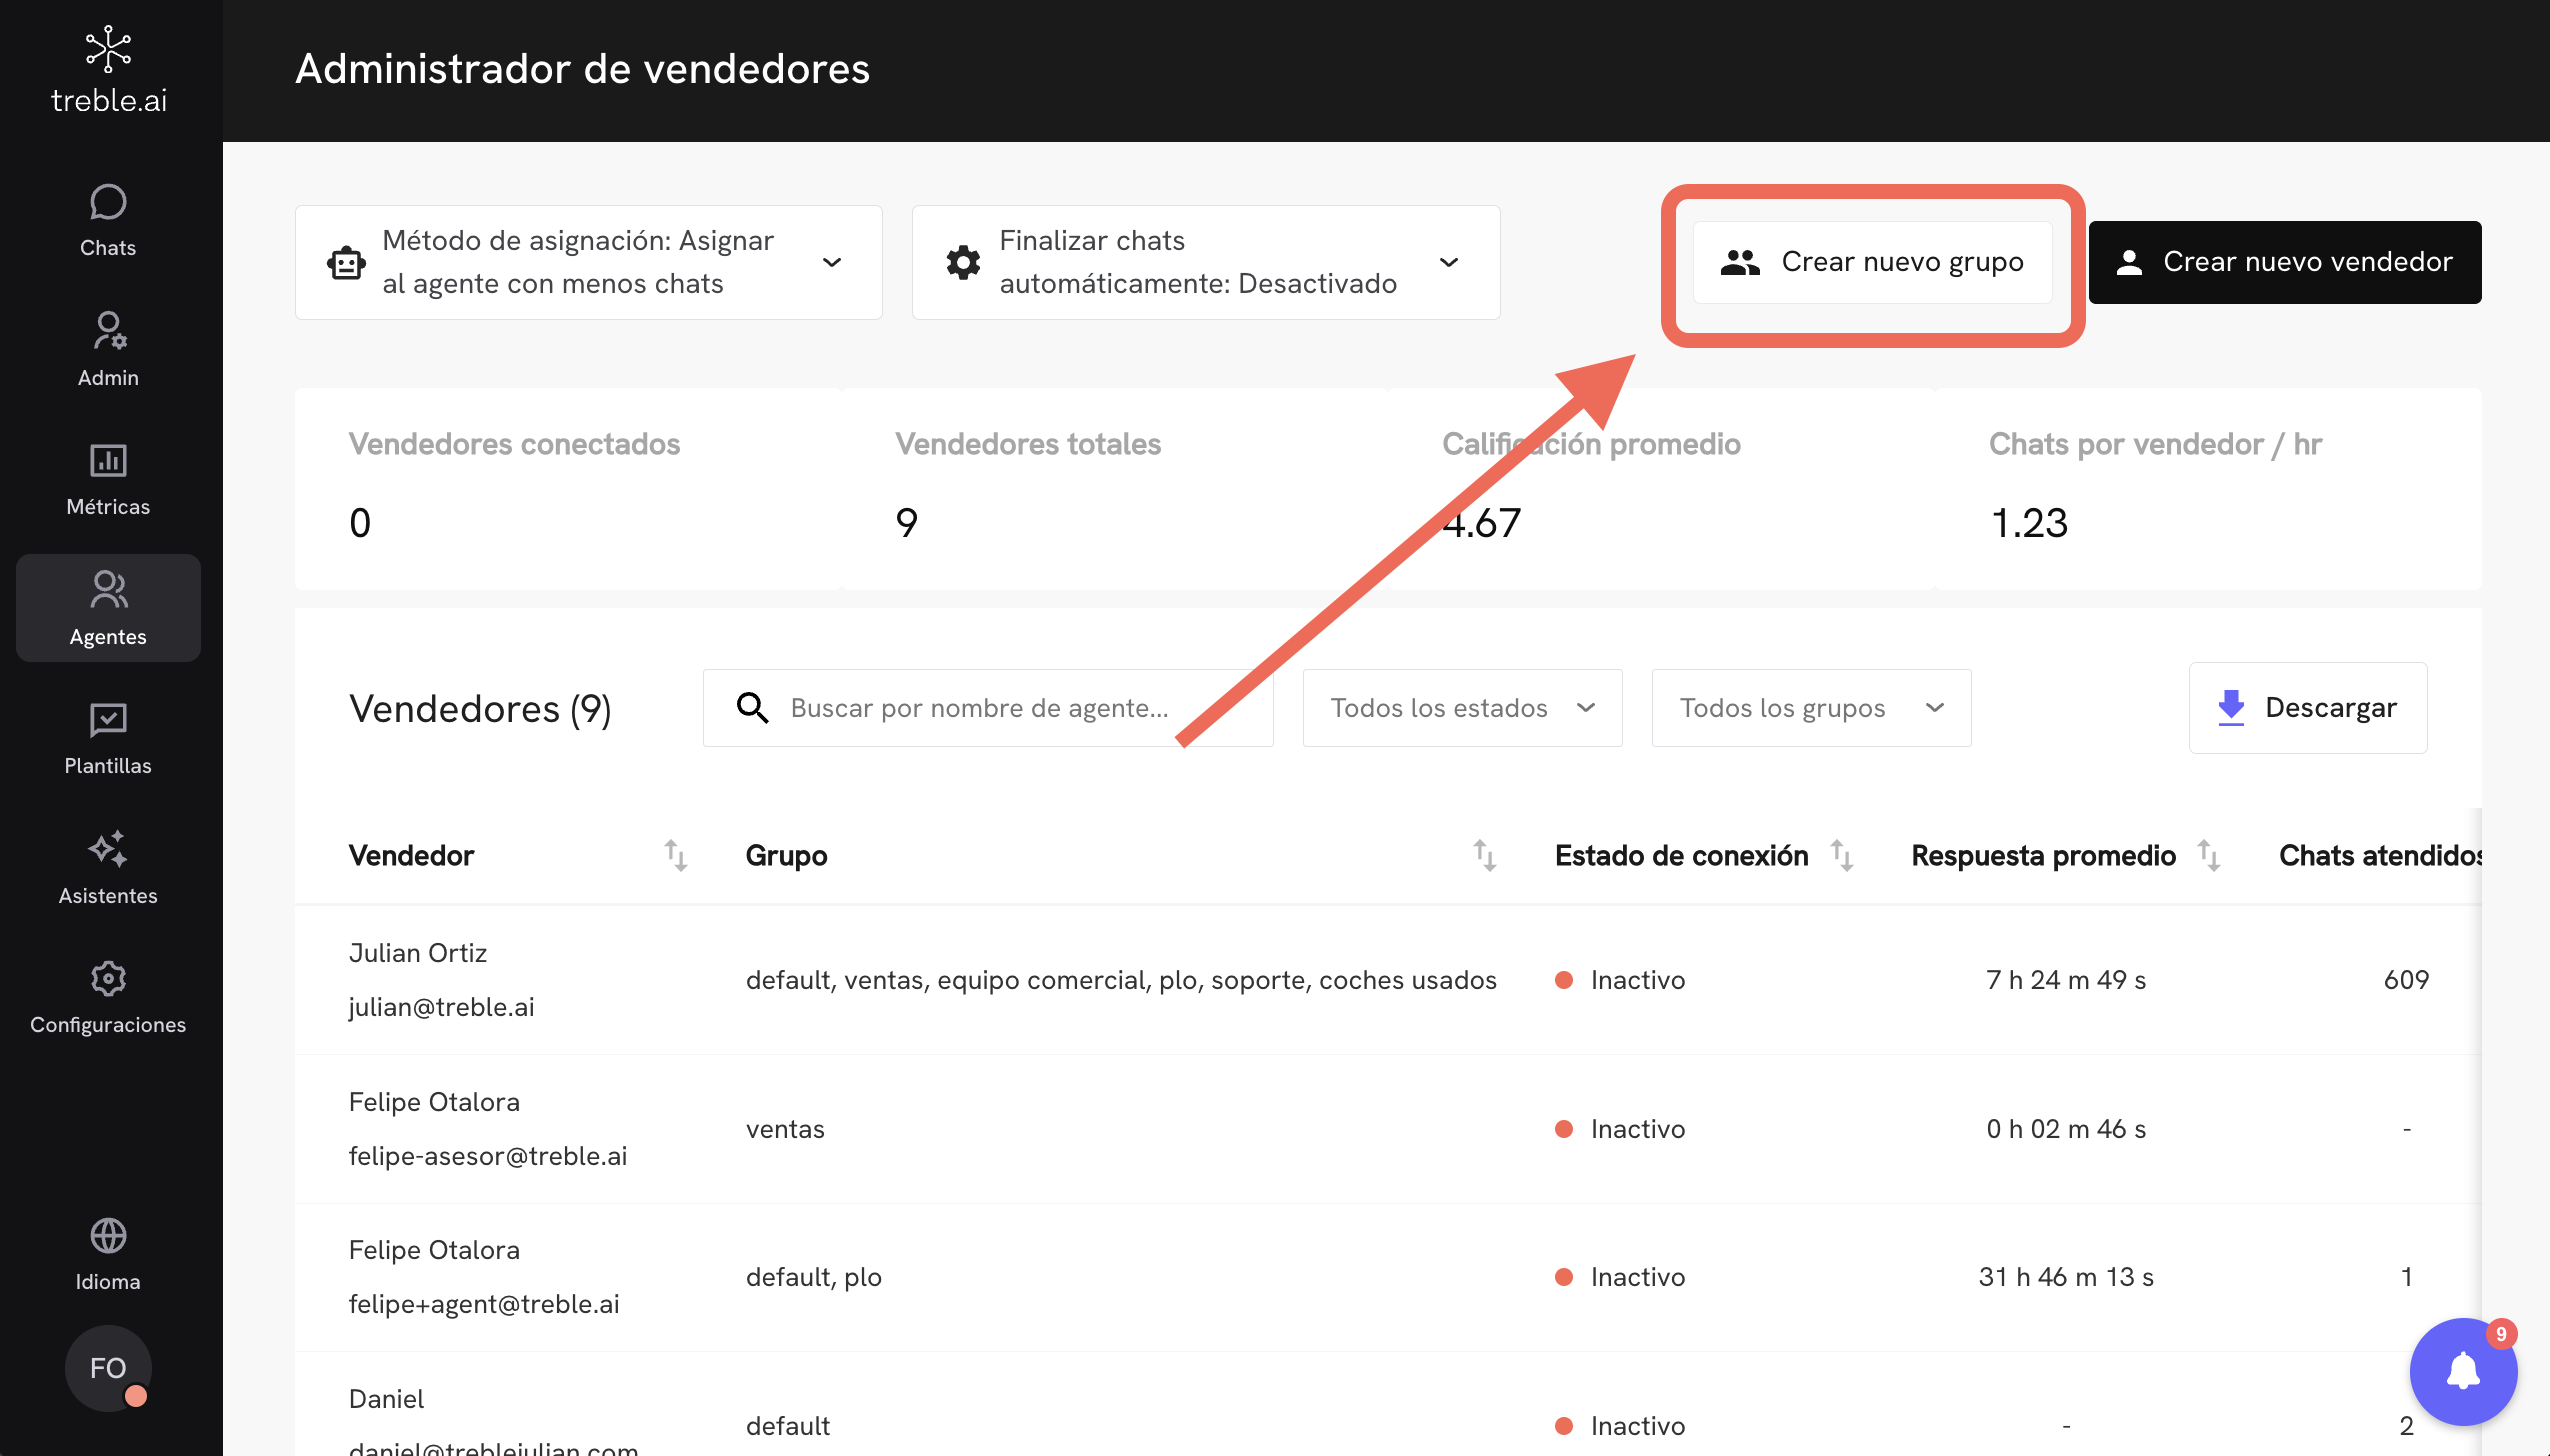
3
Create agent account
Now let’s create an agent account. For this, click on the “Create Agent Account” button.After you’ve clicked on the “Create Agent Account” button, a modal will open to fill in the new agent’s data.In the “Choose at least one tag” section, we’ll select the sales team we created earlier: “Sales Team”.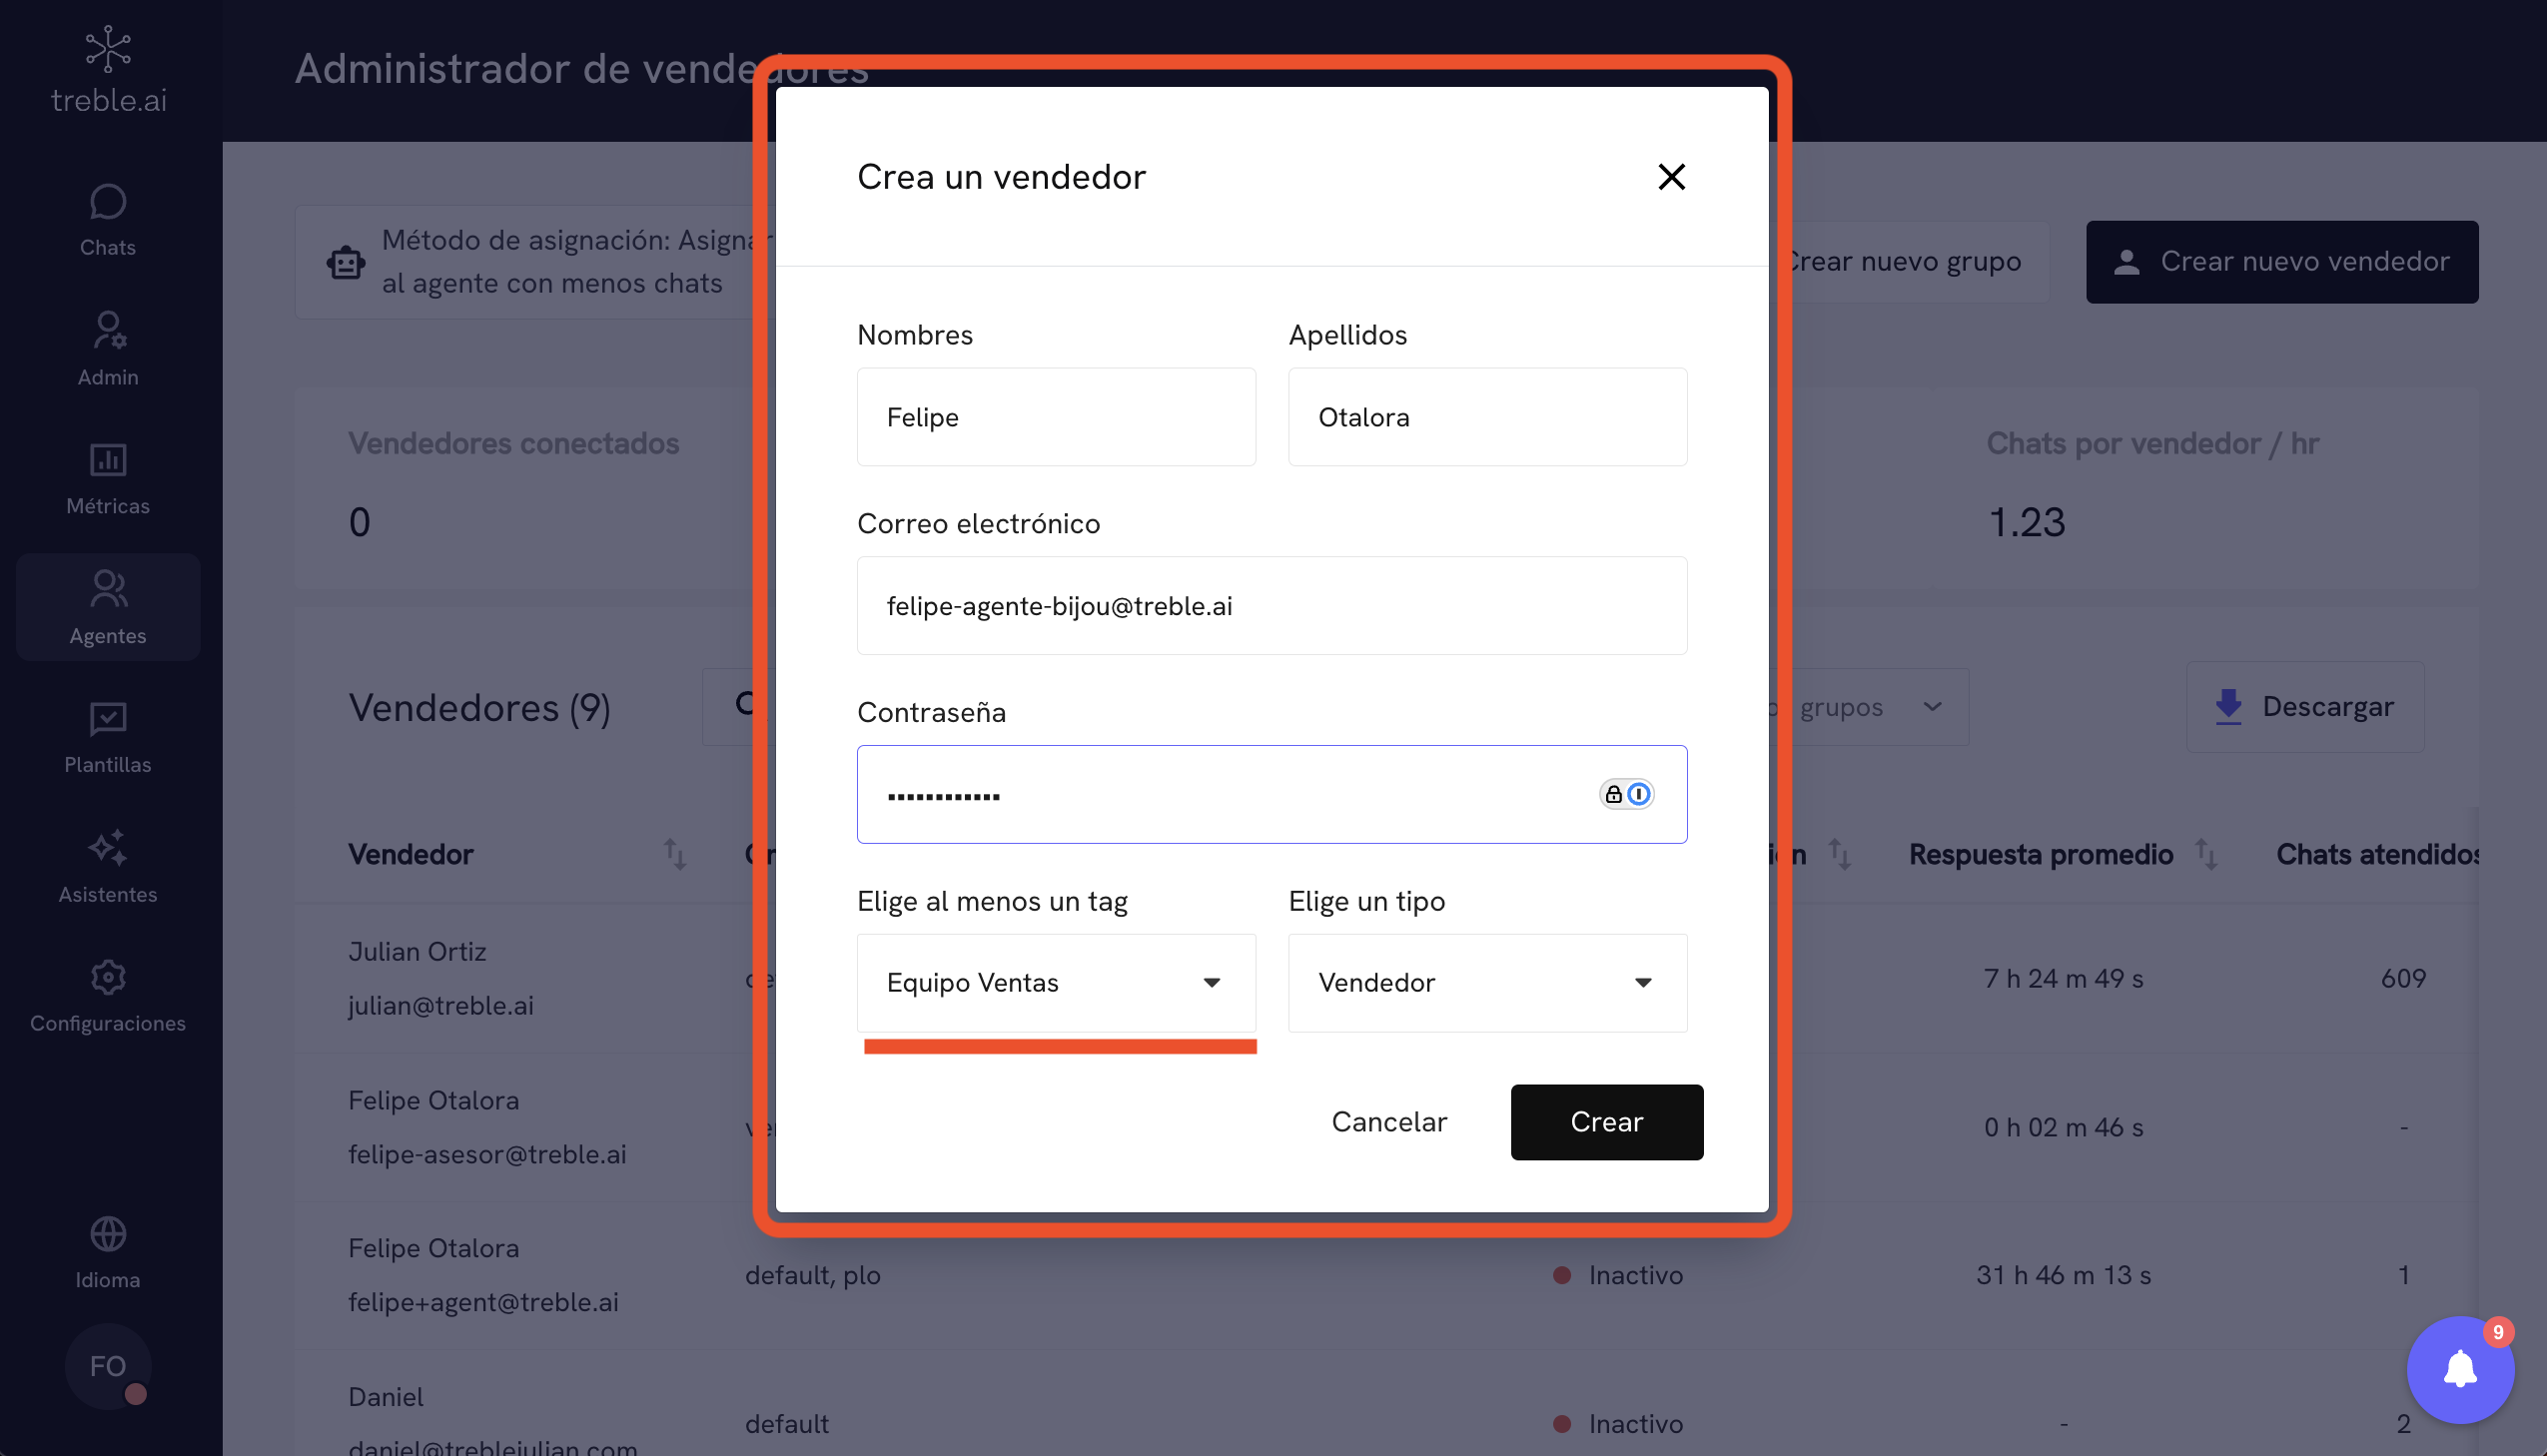
4
Log in to the agent account
Now, let’s simulate being the agent we just created. To do this, log out of the administrator account and click on the “Login as Agent” button.To do this, click on the profile icon at the bottom left of the screen and select the “Log out” option.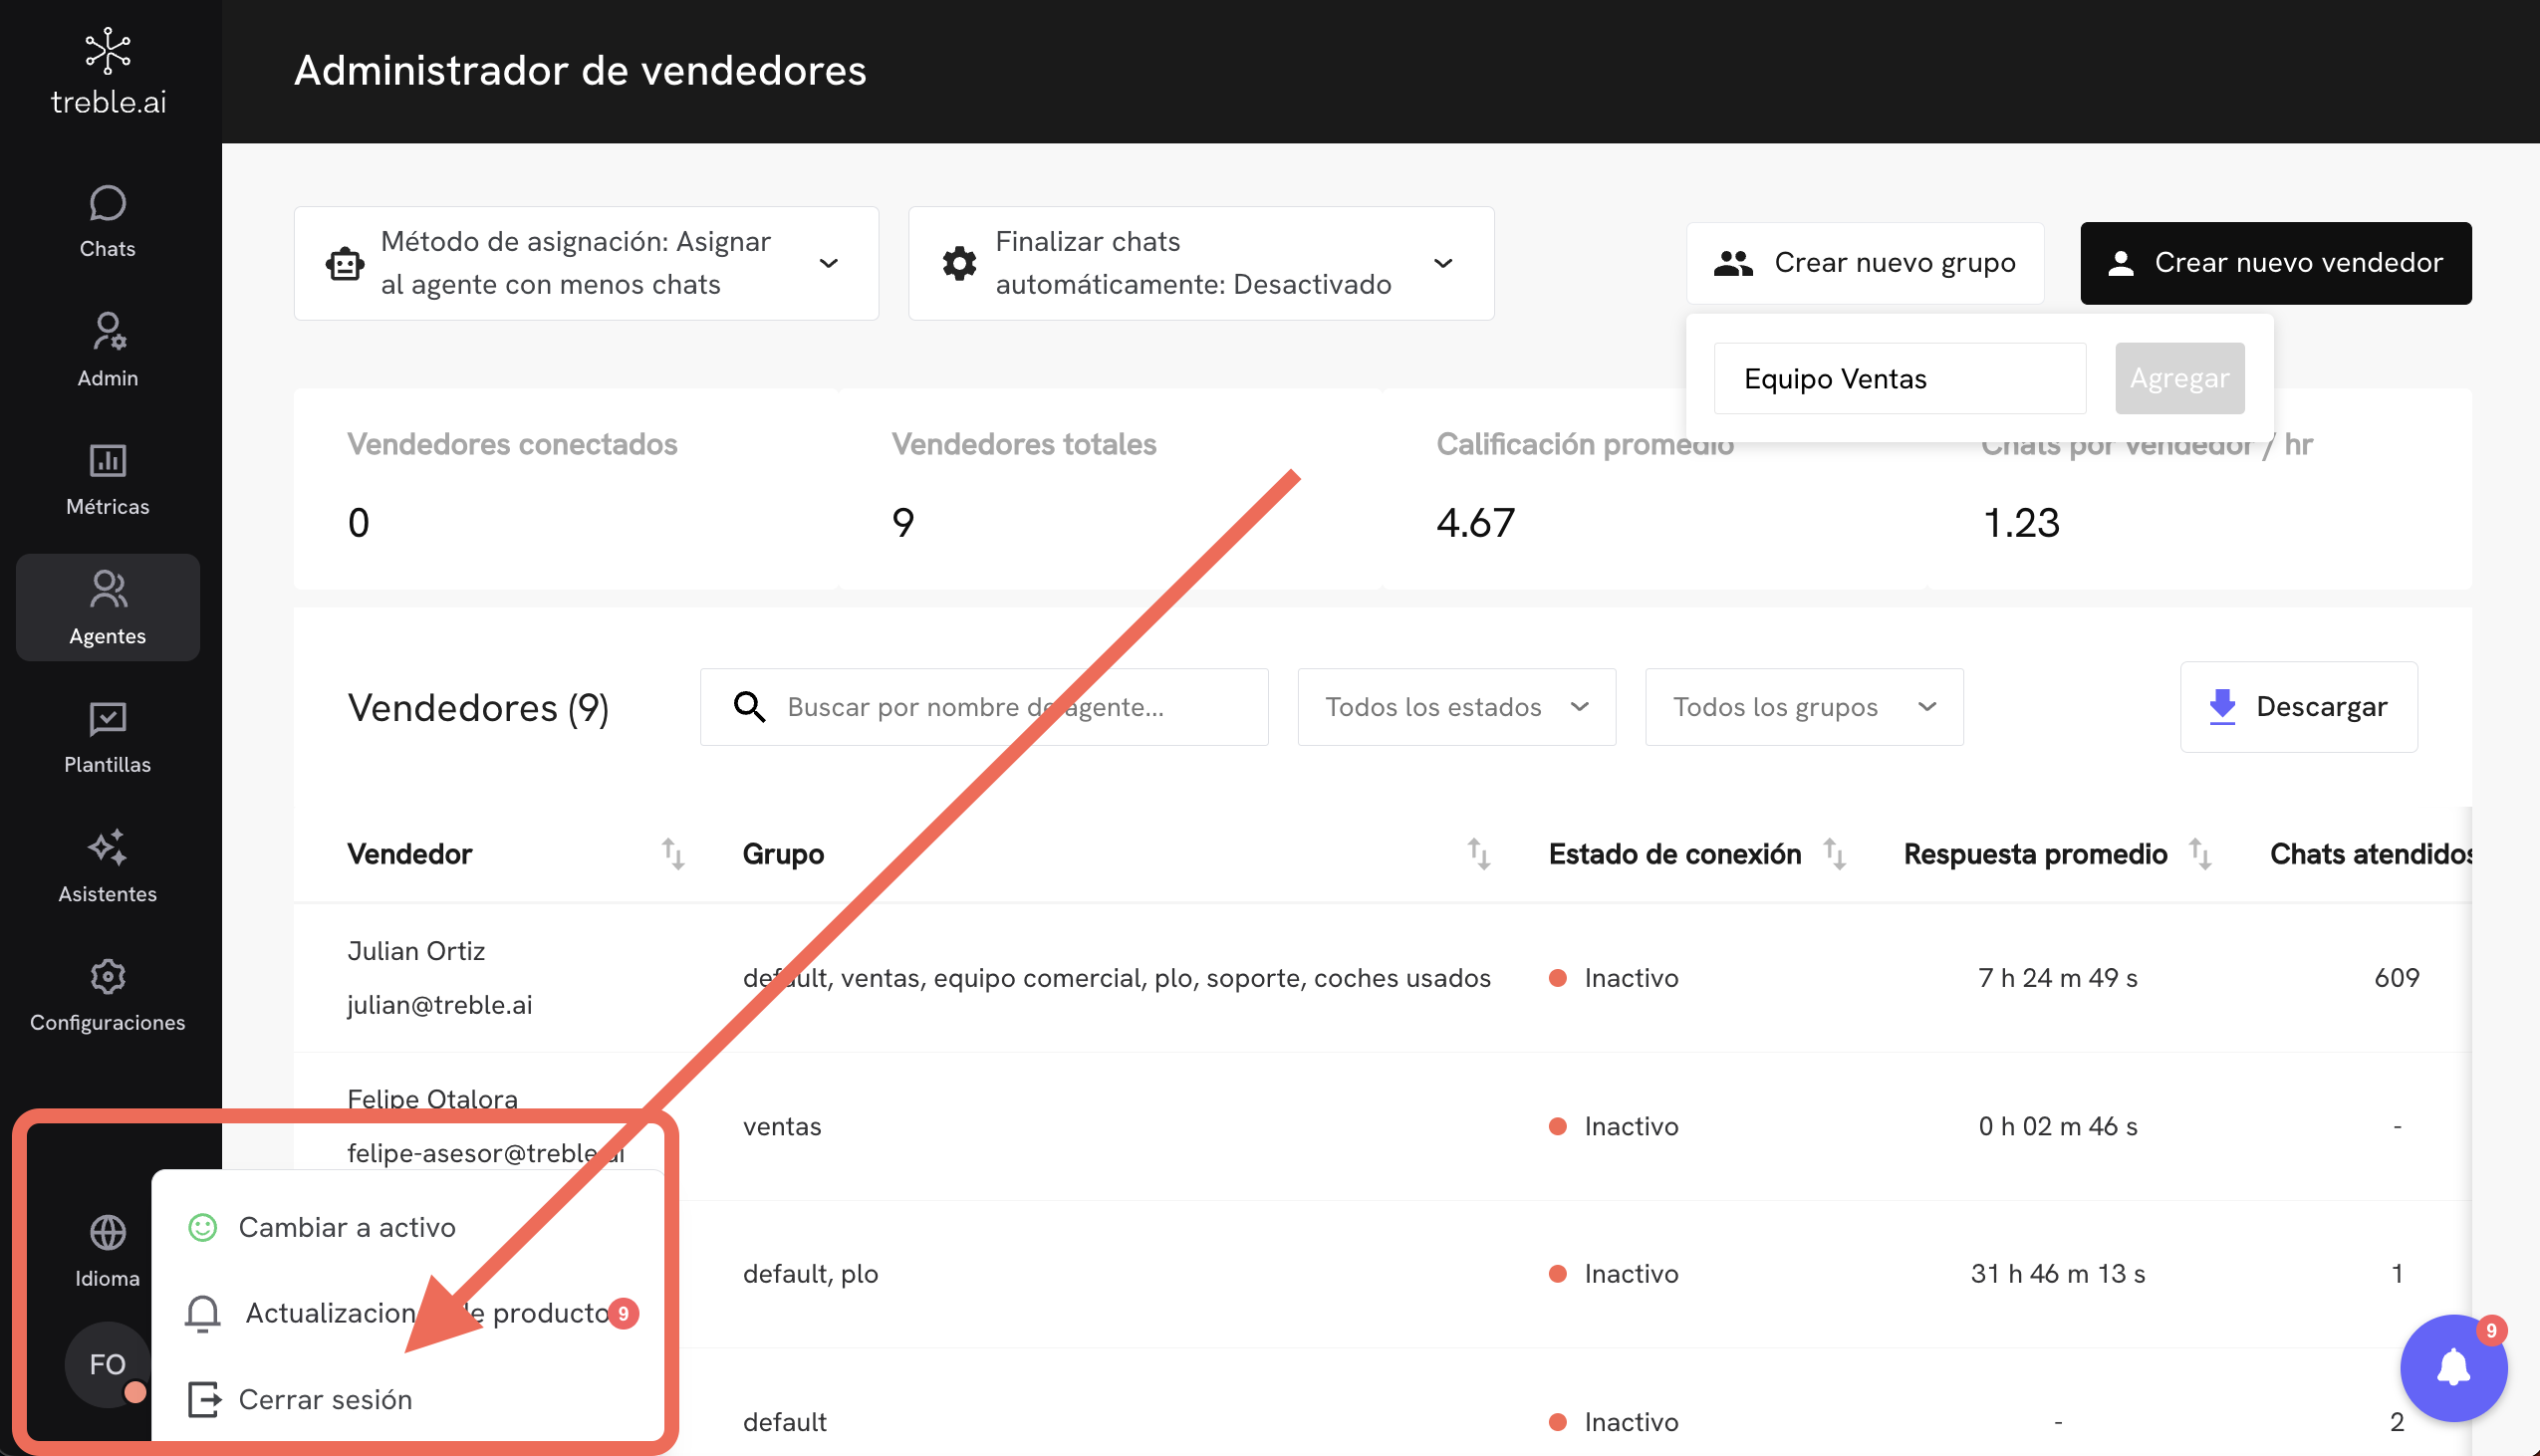
5
Activate the agent
Agents can only respond to messages from potential customers when they are active. To activate the agent, click on the profile icon at the bottom left of the screen and select the “Change to active” option.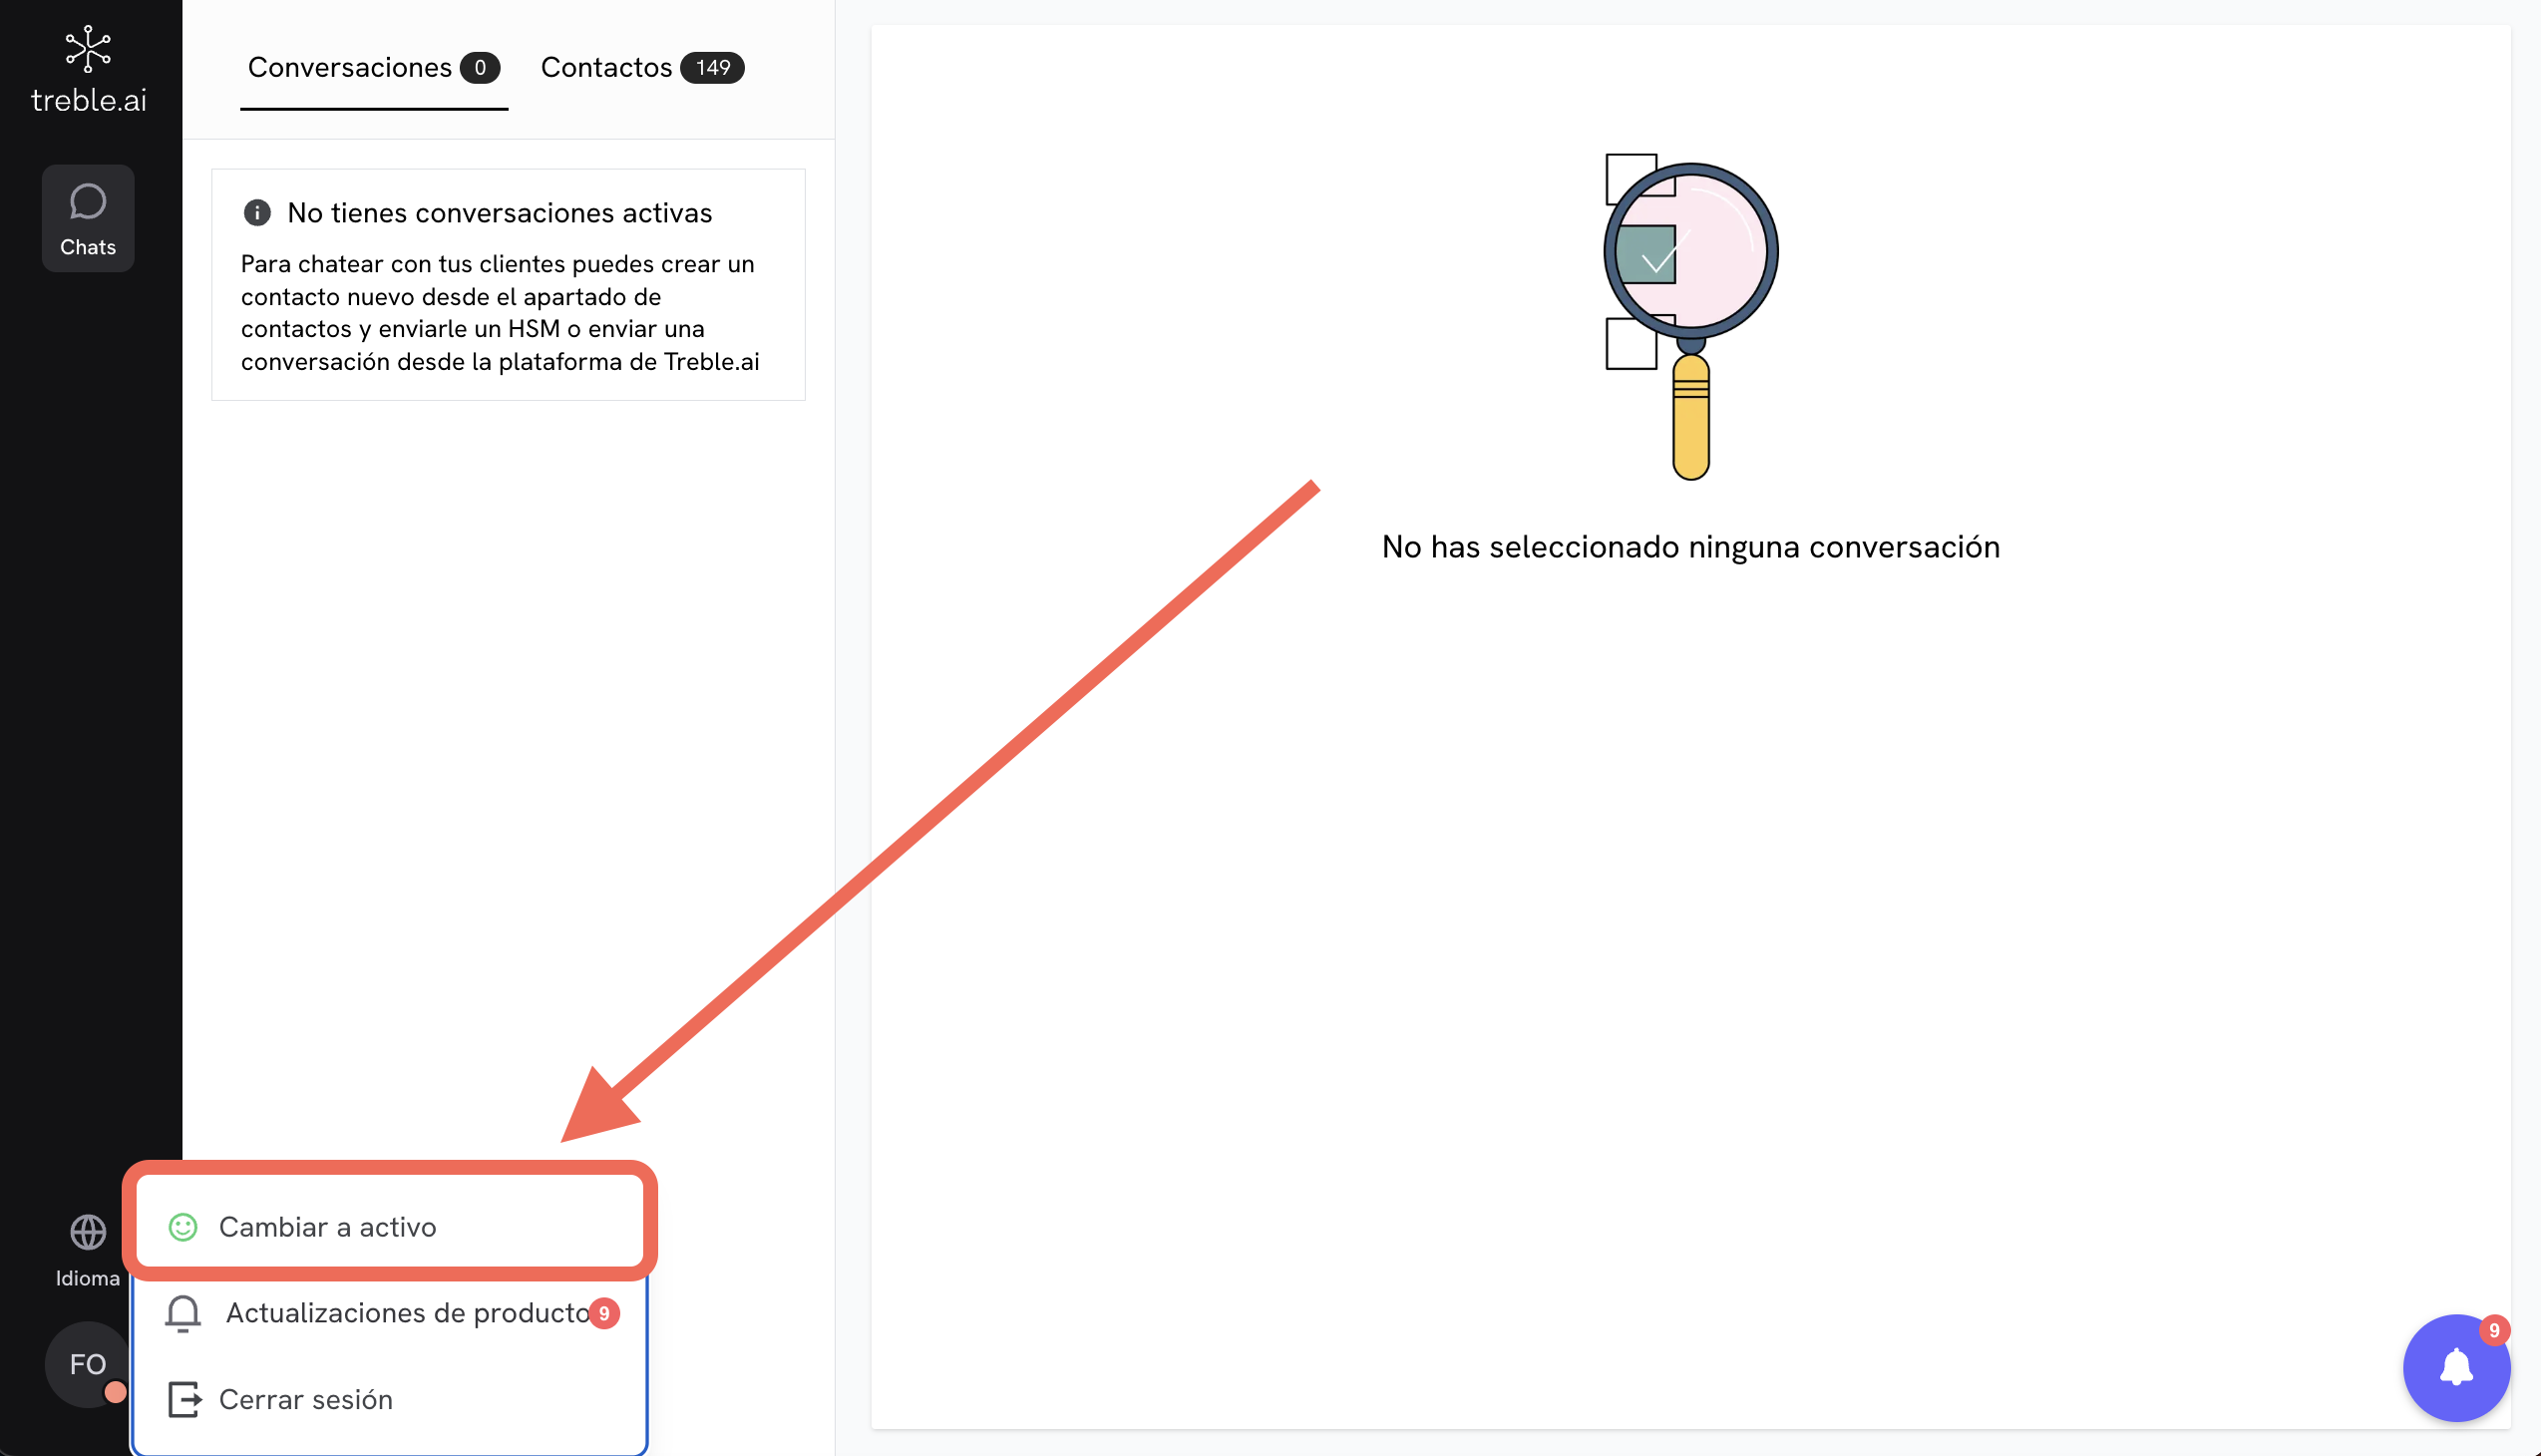
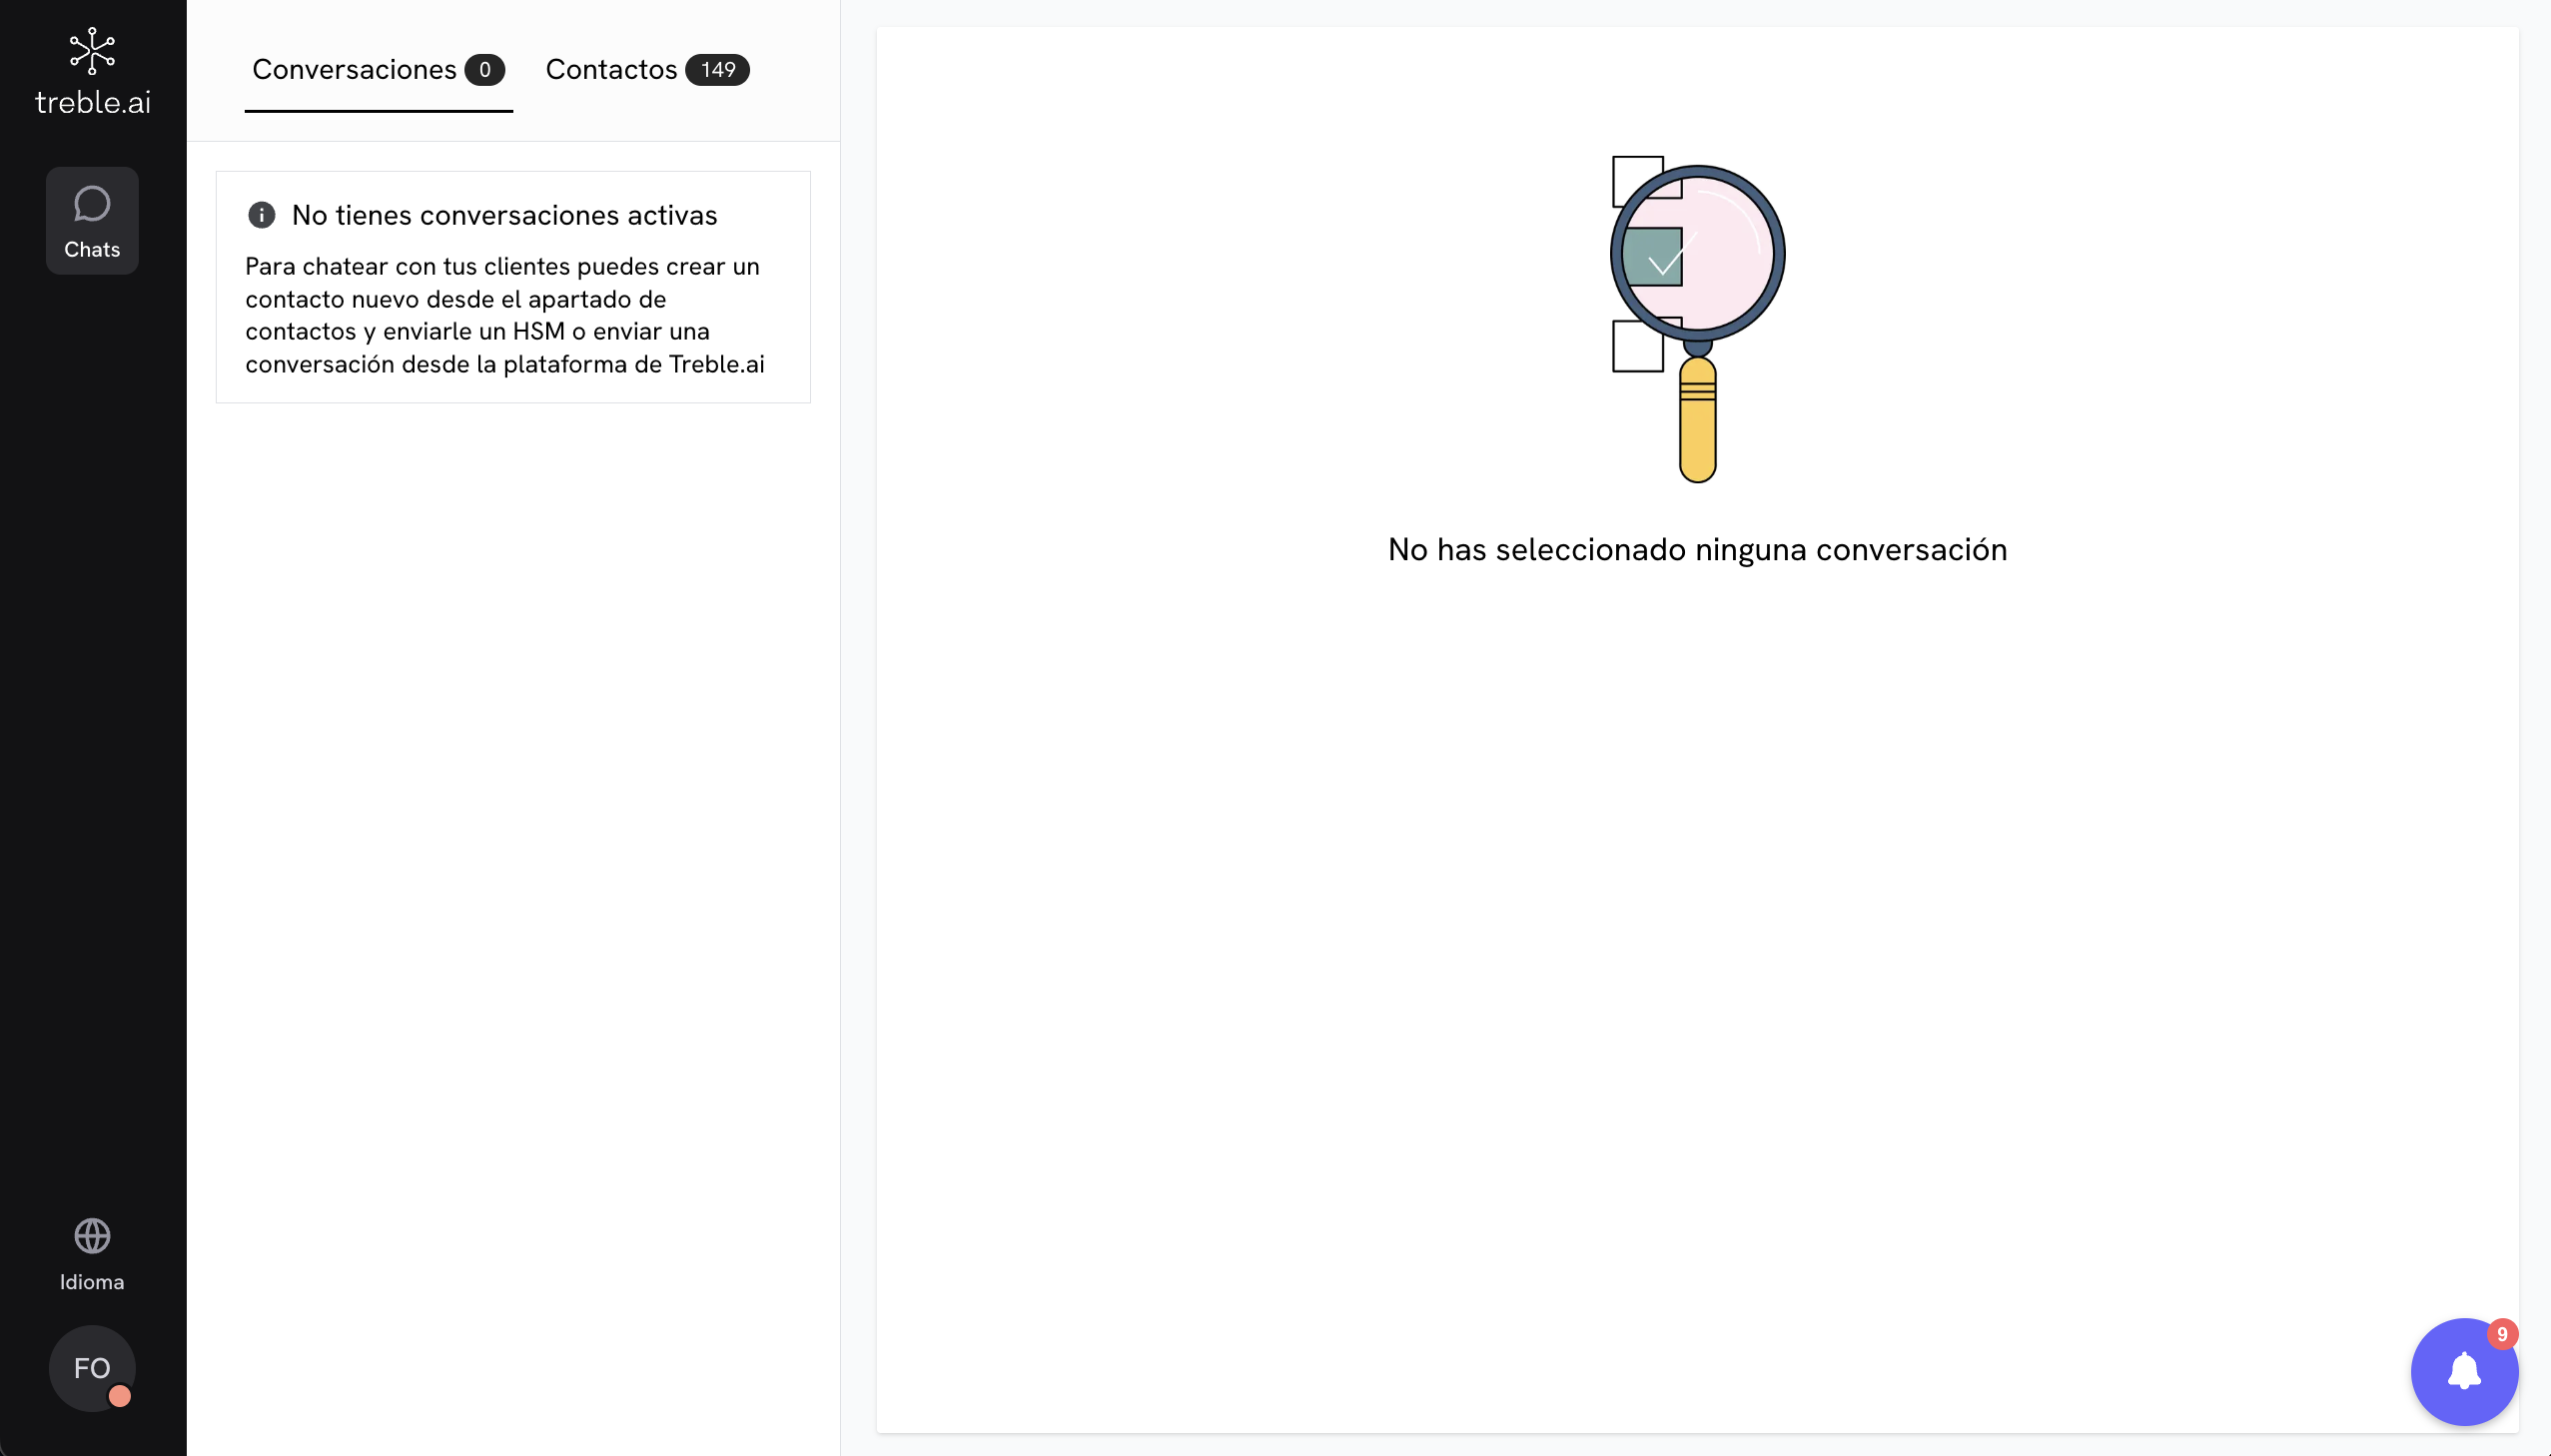
You are now active as an agent! Now we’re ready to start responding to messages from potential customers.
Agent Tool
Learn more about the agent tool.
Configure the inbound conversation
Now let’s continue creating the inbound conversation to receive messages from potential customers.1
Create an inbound conversation
Go to the “Conversations” section and click on the “Create Conversation” button.
2
Add message blocks
Once you’ve entered the conversation editor, you can add any message block. The first block you add will be where the conversation starts. Click on the button and select the type of block you want to add. In this case, we’re going to add a Message with options > Interactive buttons block.The message we’re going to add is the following:
Hello! Thank you for contacting BIJOU jewelry 💍. How can we help you today?
3
Add additional message blocks
You can continue adding any message block. In this case, we’re going to add a Simple message block to respond to the customer if they choose the “Help with an order” option.
4
Configure agent transfer block
Now let’s configure the agent transfer block. For this, click on the button and select the Transfer to human submenu and then select the Transfer to agent in Treble option. Connect the agent transfer block with the first option of “I want to buy”.
5
Configure the agent transfer block
When adding the agent transfer block, you probably saw a new block with the title: “DEFAULT”. The title of this block is the name of the team of agents to which you will transfer the conversation. In this case, we need to change it to the team of agents we created earlier: “Sales Team”.To do this, double-click on the agent transfer block. A panel will open on the left side of the screen. In this panel, you can see the name of the team of agents to which you will transfer the conversation. In the dropdown, select the team of agents we created earlier: “Sales Team”.
6
Save the conversation
Now that we’ve configured the conversation, let’s save it. Click on the “Create Conversation” button at the top right of the screen. Since we’re creating an inbound conversation, we’ll select the “Receive messages from customers (inbound)” option. (If you have more than one WhatsApp line, you can select the line you want to receive messages from). Finally, click on the “Continue” button.
You now have your first inbound conversation configured! Now you can test the conversation by sending a message to your WhatsApp number.
Testing
To test the conversation, you can send a message to your WhatsApp line configured in Treble. If everything is set up correctly, the conversation should start and send you the welcome message. Once you’ve received the message, you can respond to that first message and go for the “I want to buy” option. You’ll receive a message on WhatsApp that your conversation is being transferred to an agent. And now, if you go back to the agent platform, you’ll see that there’s a new conversation in the “Conversations” section.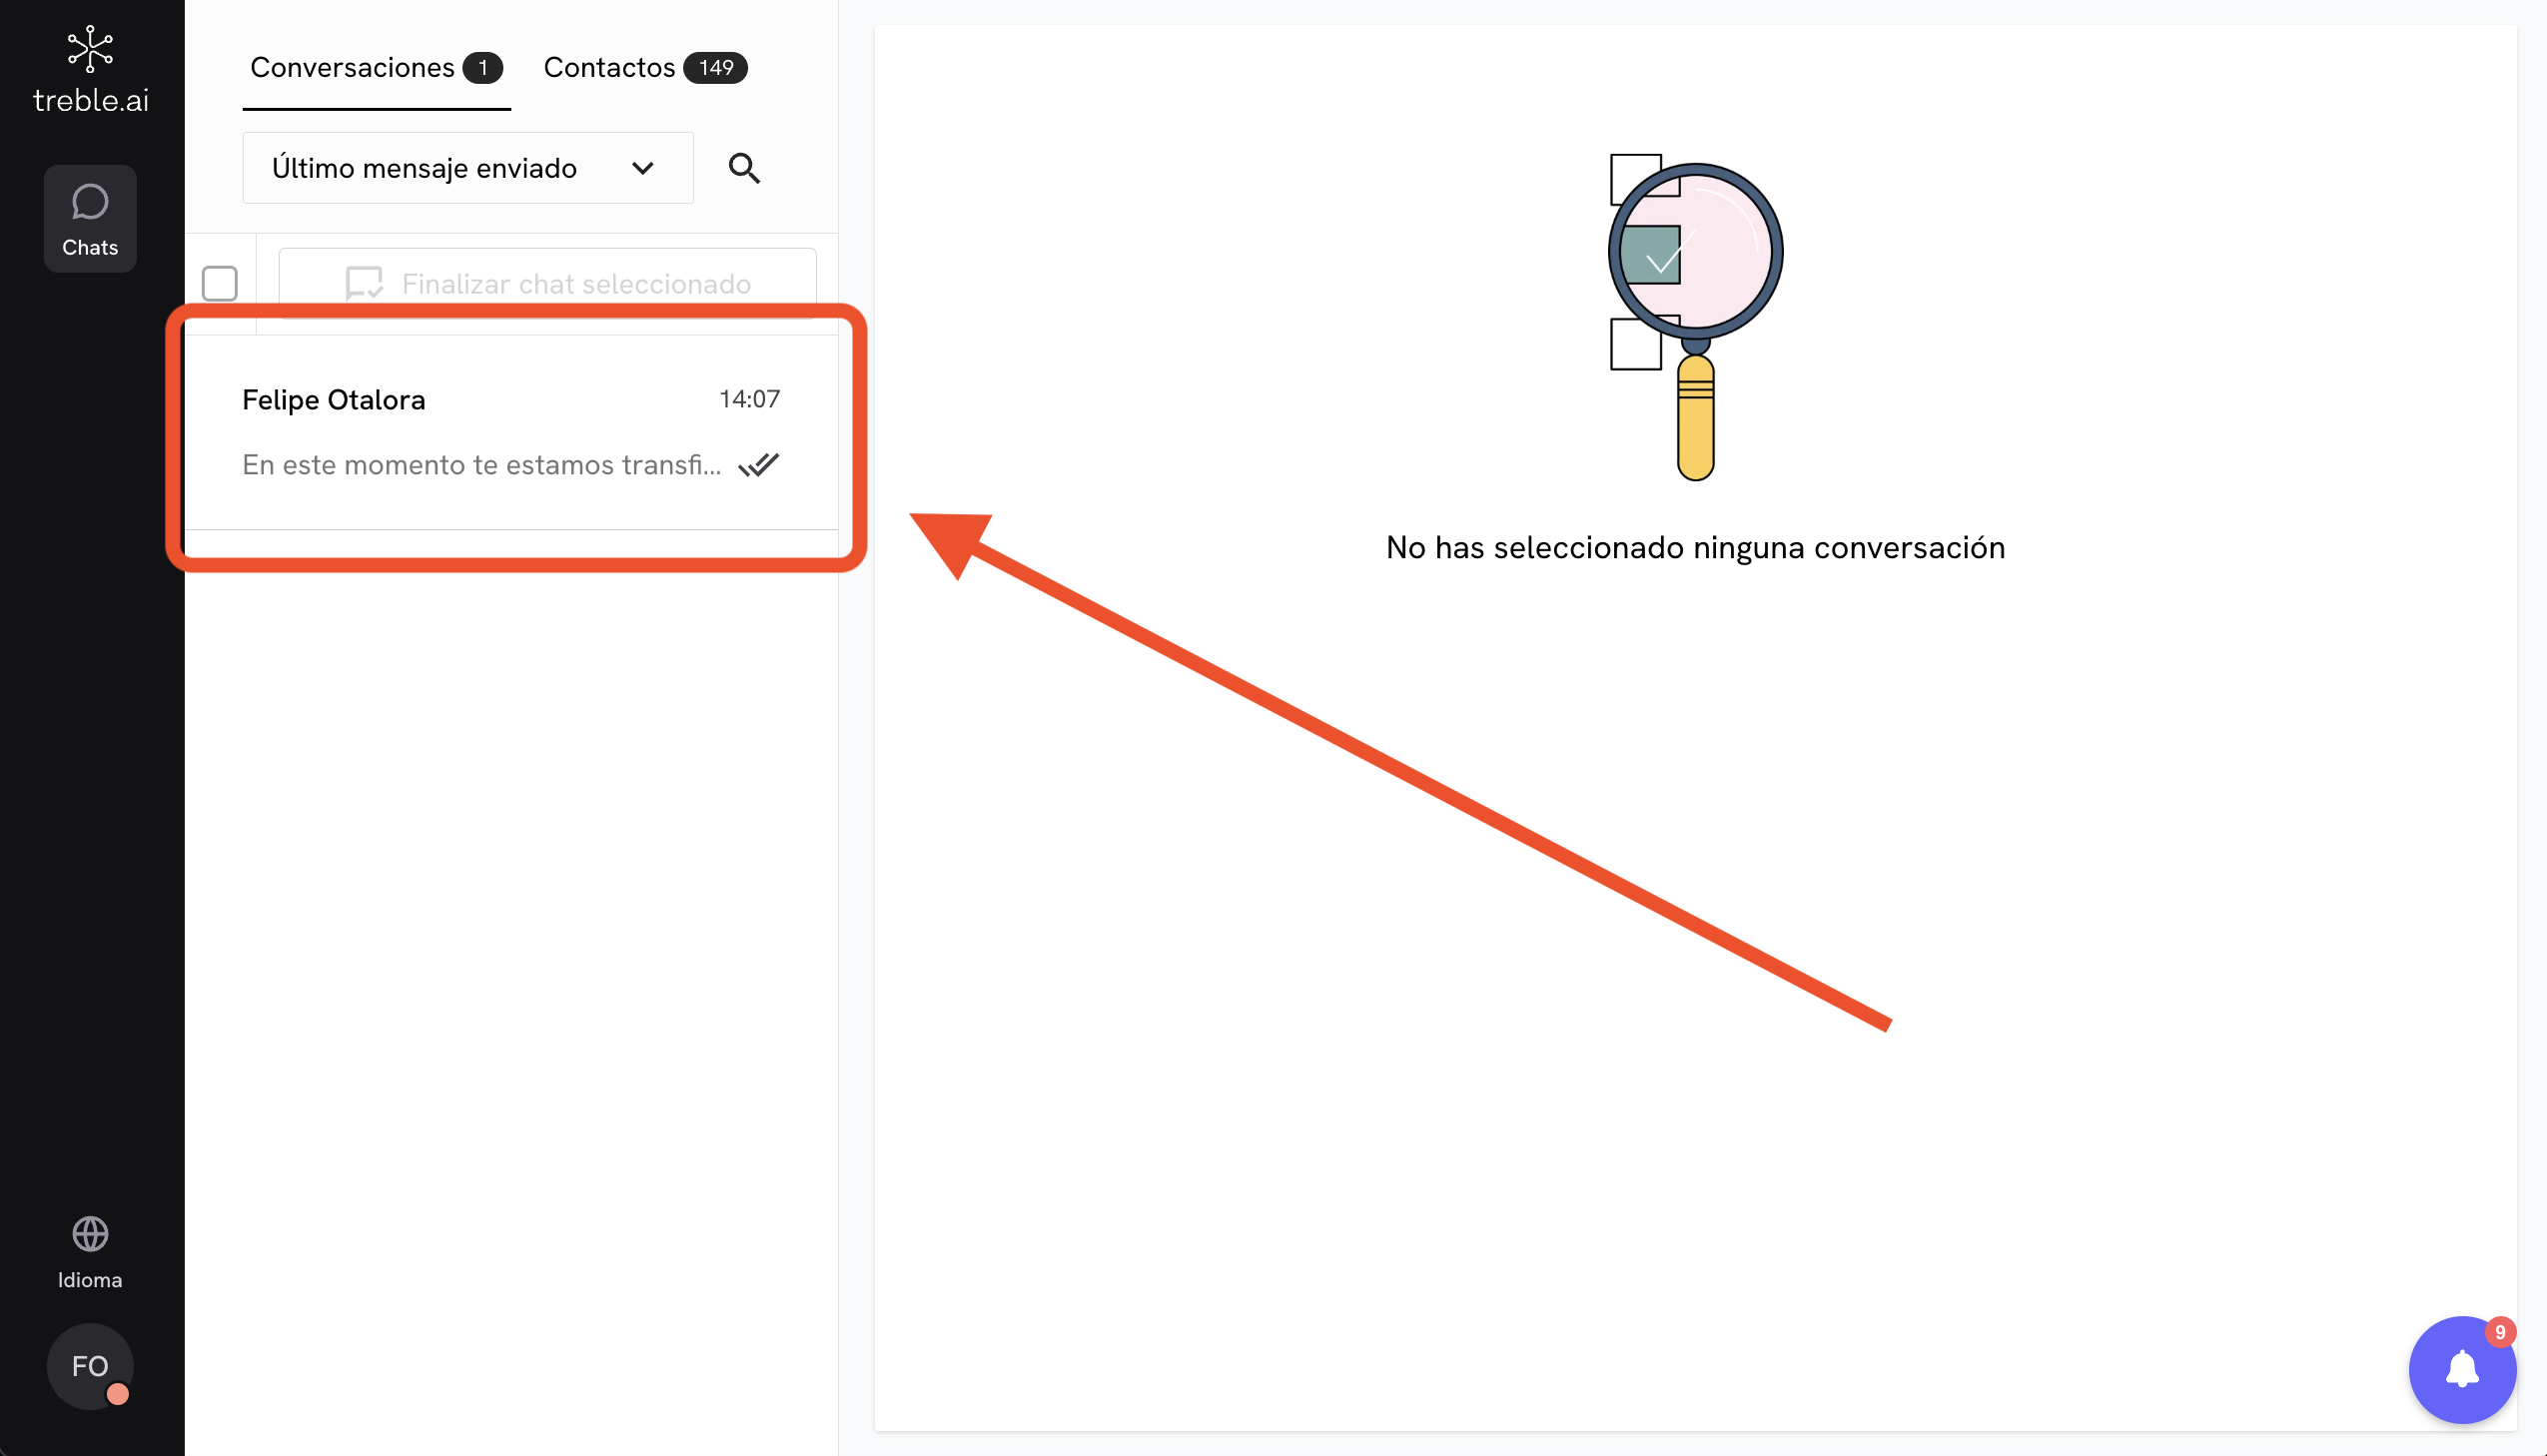
You’ve managed to transfer a conversation to an agent! With this process, you’ve learned how to set up an inbound conversation and transfer it to an agent.